
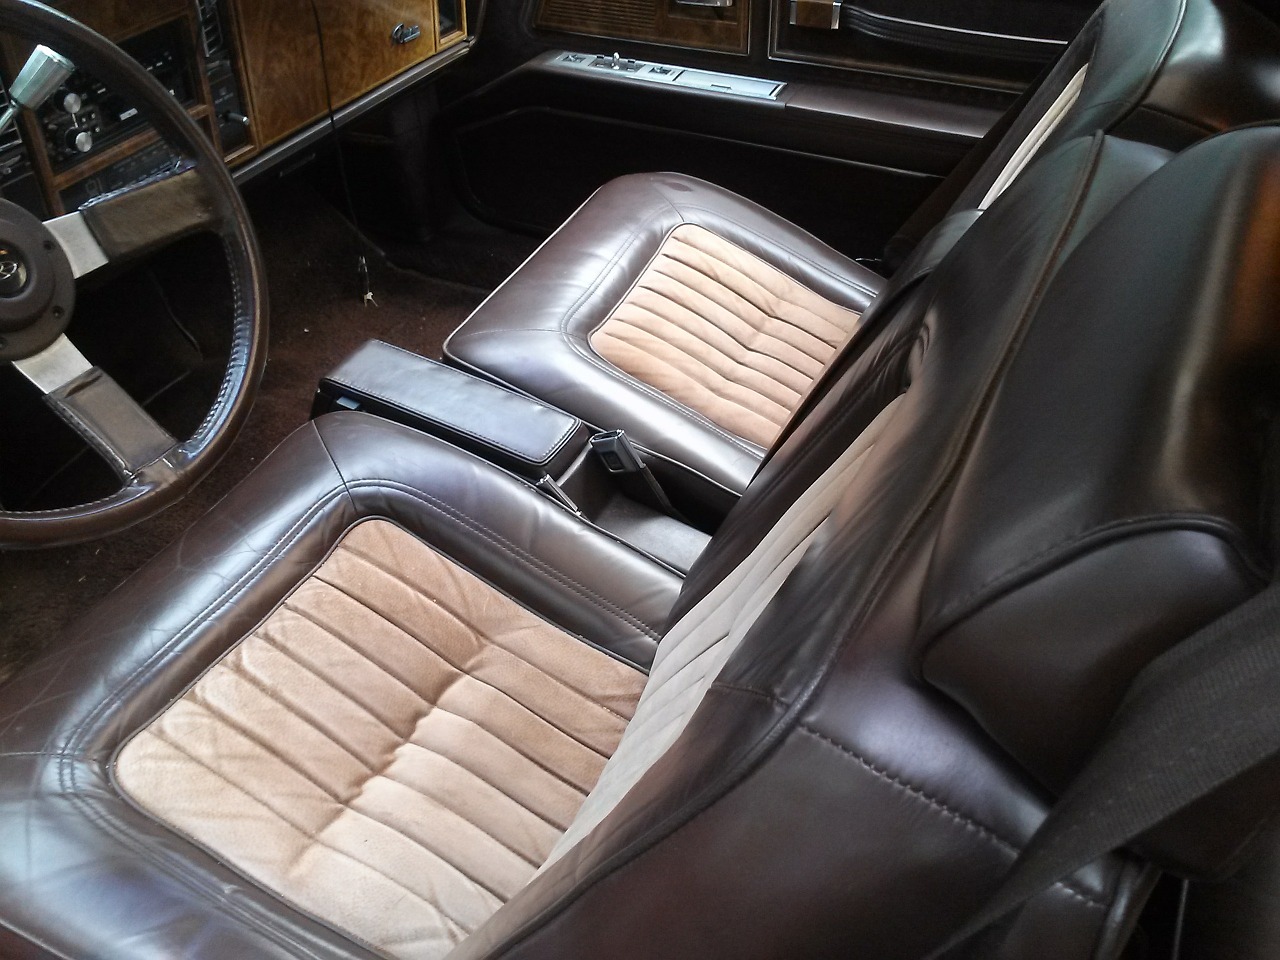
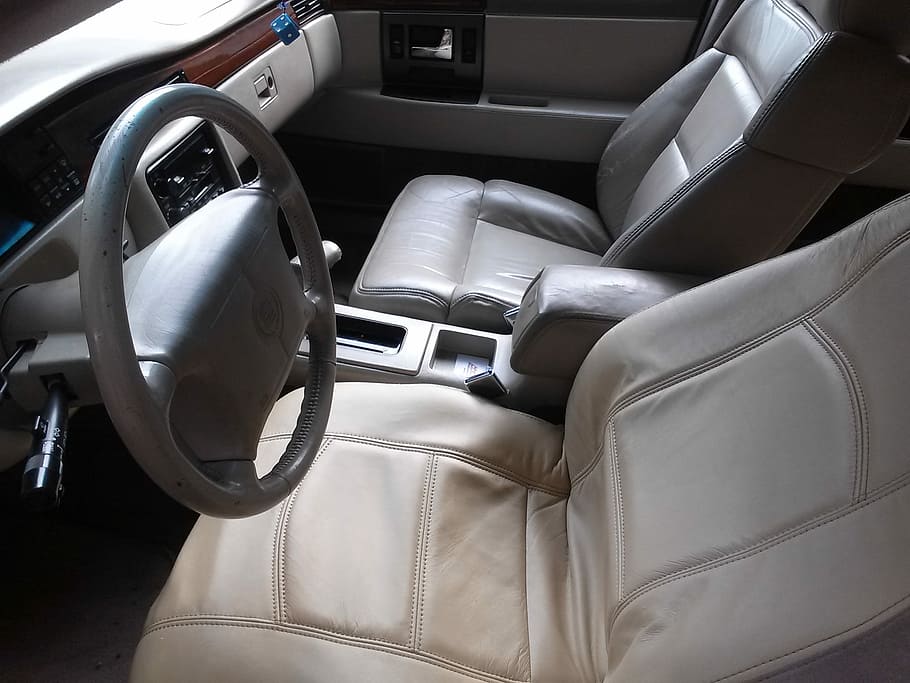
Let’s get right to the point! Below you will find the different steps of leather renovation for car seats. In general, these steps are about the same as restoring a leather sofa at home. For more comfort, ideally, disassemble the elements to be restored. Renovating leather is very simple; however, a proper
leather restoration also requires good use of the appropriate products.
Note: Observe the order of application of the products as well as the drying times!
Leather products
– 2 products in case of repairs: leather healing balm + leather repair cream
– Pigment coloring remover
– Silky varnish
– 1 highly recommended product: Cooking oil!
Accessories
– Acetone (organic if possible), paper towel
– Sandpaper (240 to 400 grit bodywork)
– 1 high-density foam roller, 1 small brush, 1 sponge and a spatula
If your leather is significantly dry, you should first soften it with cooking oil or leather softener. Two or three applications will suffice to restore your leather to its original suppleness. Wait at least 3 weeks before going further in your leather restoration, the time to let the product infiltrate the core of the fibers of your leather.
Clean the leather seats
Cleaning the leather is a particularly critical phase of restoring your car leather upholstery. This operation should “break” the original protective varnish of your leather and to degrease it. If this operation is carried out incorrectly, the recoloring agent will not be able to penetrate properly into the leather fibers and become sticky to the touch, even when dry.
Start by sanding with fine sandpaper (bodywork grain 240). Then, degrease with acetone to remove sanding residues, varnish, silicone, and dirt.
Leather repair: scratches, cracks, peelings, etc.
Begin by applying leather healing balm on large cracks and porous or worn areas. Leather healing balm not only acts on the surface, but it also densifies and consolidates weakened leather. Leather healing balm will also allow you to glue the raised parts of the leather grain without blistering if this is the case. Once the leather healing balm is dry to the touch, apply the leather repair cream with a spatula. To fill in the leather gaps, several applications will be necessary as the leather repair cream shrinks as it dries. Leather repair cream dries quickly (a few minutes), therefore avoid overcoating, prefer several successive thin coats and apply the product only where required.
If your leather is “peeled” in some places, you will need to apply a little leather repair cream to waterproof and smooth it out to recolor it properly. Insert a piece of leather between the foam and the back of the leather to repair a tear or an open hole. Then, glue and fill with leather repair cream. Wait one hour before recoloring. Caution: leather repair cream has a limited stretching capacity; pulling on soft foams can cause breaks. To avoid this problem, overload with leather healing balm to limit the leather’s stretching, change the foam or make a lamination with a piece of leather if the cushion is removable. Apply leather repair paste with a spatula or the right edge of a cardboard box. You will need several applications to fill the leather gaps, as the paste shrinks as it dries. Sand after each use to even out and obtain a homogeneous surface.
Recoloring leather
The recoloring can be done with a high-density foam roller or a spray gun (1 mm nozzle). Apply one, two, or three coats of recoloring pigment and allow one hour of drying between coats. Note that it is possible to accelerate drying with a hairdryer, starting hot and finishing cold.
For hard to reach corners, use a brush. Small areas can be recolored with a damp sponge. Caution: Do not bring two treated surfaces into contact until they are dry. For surfaces that touch each other, activate drying with a hairdryer, hot at the beginning and then cold at the end, or use a grease-proof paper towel.
Leather protection
The protection of your work is essential. Silky varnish protects first the coloring, then the grain of the leather, and then the leather grain from repeated rubbing. It prevents clogging while waterproofing and gives the final color to your leather restoration work.
2 days after recoloring: apply two coats of varnish with a foam roller
15 days later: apply one more coat
Feeding the leather
Advice: Don’t invest massive amounts in buying leather products.
Tip: Normal cooking oil is essential to give back to the leather all its flexibility and resistance to stretching and tearing.
Wait a fortnight after the application of the varnish. Then, spread the cooking oil by massaging the leather.
Once the oil infiltrates into the leather’s fibers, it never comes out, but it may take time to penetrate after recoloring.
The maintenance after renovation is a determining factor in the life span of the restoration.
Oil should be applied at least once every three months in the most heavily used areas, and varnish should be applied at least twice a year in the same areas.
Hope the above helps you in restoring your leather seats. Remember to share your experience below!
1 comment
… [Trackback]
[…] Find More on that Topic: carsandmotorsonline.com/archives/1934 […]