

Contents
Step 1: Identify the source of the leak
Step 2: Locate the leak
Step 3: Prepare the repair, if you can do it yourself.
Step 4: Four Special Cases
Case 1: Repair the leak at the drain plug (engine or gearbox)
Case 2: Repair an oil filter leak
Case 3: Change the leaking oil pressure switch
Case 4: Repair a leak in the camshaft cover
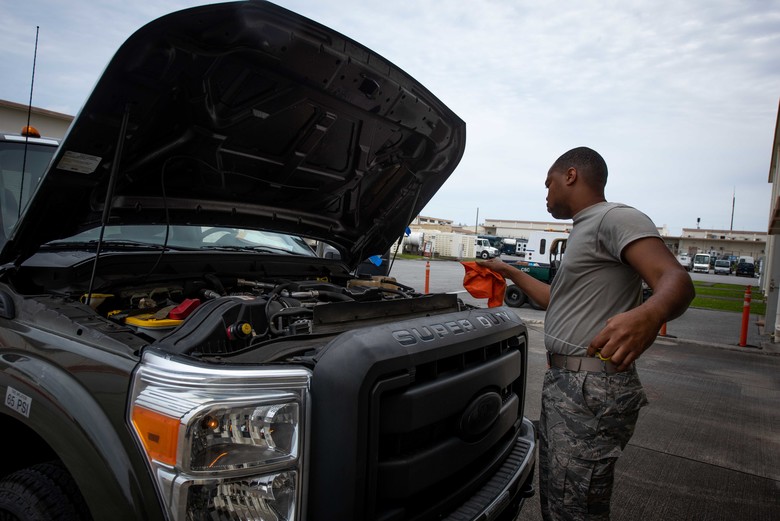
Do you notice oil leaks under your car? Not only do these unsightly and indelible stains dirty the beautiful paved driveway of your home, but with the hardening of the technical inspection, oil seepage is likely to lead to a counter inspection. It is therefore time to act at the source and eliminate the origin of the leaks.
Here is a step-by-step guide to what to do if there are oil leaks under the car.
1. Identify the source of the leak
It is important to identify the source of the oil leak and its composition, which will guide you in your diagnosis.
To start with:
– Collect some of the lost oil.
– Place a cardboard box under the vehicle to collect the oil stains.
– Identify the nature of the oil according to its characteristics.
– Distinguish the different oils.
Engine oil
It can be recognized by its impurity content.
This gives it a more or less black color, especially for diesel engines.
Gearbox oil
If it’s a manual or robotic gearbox, it’s often 75W80 oil.
It is characterized by a more or less amber color, clean and thick.
It also has the particularity of having a specific unpleasant and pungent smell.
Automatic gearbox oil
If the vehicle is equipped with it, or the power steering system, the oil is red, fluid; it is ATF Dexron oil.
Power Steering Oil
Coolant, which can be mistaken for oil.
It has the consistency of water, but is more viscous.
Its color is usually yellow, blue or green.
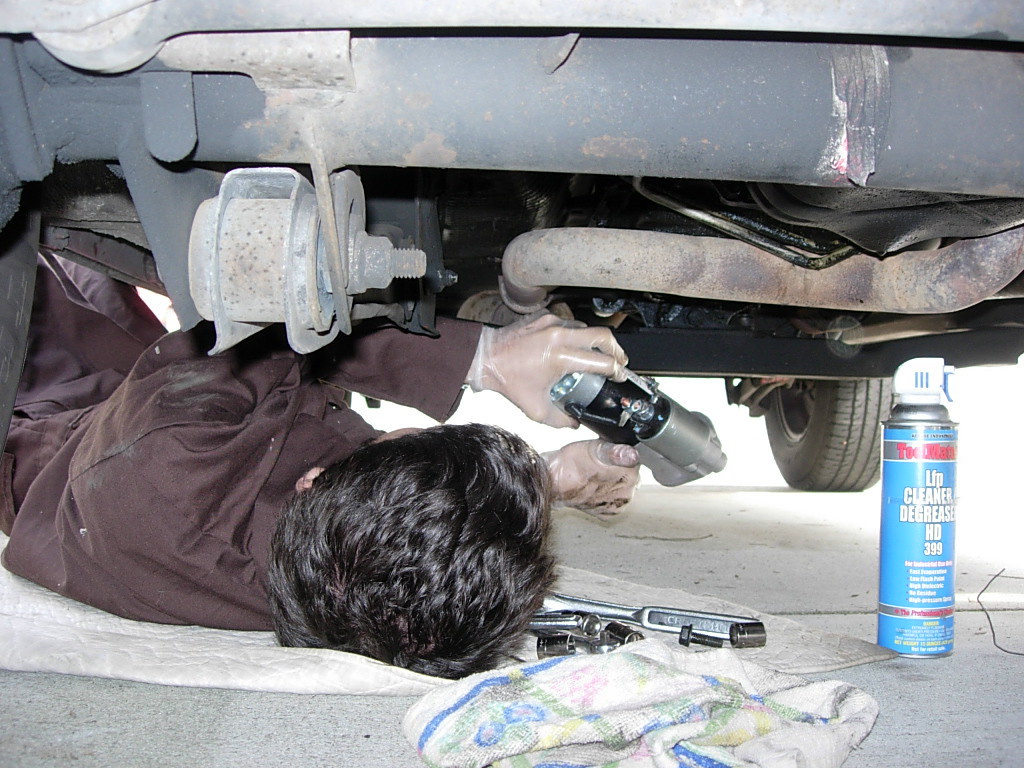
2. Locate the leak
Follow the escape route. Once the type of oil has been identified, locate the location of the leak.
Go back to the source. However, this can be difficult to do because of the size and inaccessibility of the site, it is difficult to follow the leak; if the leak is large, it can permeate a large area.
In case of difficulty:
– clean the power train;
– then test drive the vehicle to identify the source of the leak.
Most common sources of leaks
Here is a non-exhaustive list of the most common leakage origins on the engine side:
– the oil drain plug and its seal;
– the crankcase gaskets (lower oil pan, upper cylinder head cover, timing cover);
– the cylinder head gasket. This may be a seepage or a larger leak;
– the oil pressure switch. This is often a large leak because it is located in the oil pressure circuit;
– the oil filter. Here too, the presence of pressurized oil promotes a major leak, which can quickly lead to the destruction of the engine;
– the sealing rings, also called “spi seals”, of the crankshaft (flywheel side or timing side), the camshaft sealing rings…
Leakage can also come from the gearbox at the following points:
– the drain plug;
– the transmission sealing rings;
– the input shaft pinion seal ring.
3. Can you DIY?
Consider whether you can carry out the repair or not.
If you have some experience, you can do the repair yourself when leaks are caused:
– through the gasket and the drain plug;
– through the filter the oil filter;
– by the oil pressure switch;
– or by the camshaft cover gasket (for the simplest assemblies).
Good to know: other leaks (cylinder head gasket, crankshaft spinnaker seals, gearbox input shaft seal, etc.) lead to heavy operations. Entrust the repair to professionals.
Prepare your intervention by applying the safety instructions as below.
Wear protective gear:
– Work with gloves;
– Wear work goggles.
Prepare the car:
– Wait for the engine to cool down to avoid the risk of burns;
– Before working on the car, preferably disconnect the battery.
Good to know: as a general rule, do not work with the engine running.
4. Four Particular Cases

Case 1: Repair the leak at the drain plug (engine or gearbox)
This is usually the drain seal, which is defective.
Obtain an appropriate wrench for the drain plug impression.
Good to know: it can be a traditional hexagon wrench, a square, BTR, Torx, etc., or an Allen key.
If necessary, partially lift the vehicle with a jack and ensure your safety by placing a candle under the vehicle.
Remove the protective cover if there is one.
Place a drain pan under the engine.
Insert the key into the drain plug. Make sure that it is fully inserted into the bottom of the recess.
While holding the key in this position, loosen it with a strong impulse (counterclockwise).
Good to know: avoid the beginner’s mistake of pulling the key out, as you risk catching it in the face if it shivers. Position it so that you can push on it.
Run the oil into the oil pan, avoiding splashing.
Check the condition of the plug, replace it if necessary. Also change the gasket if it exists.
Replace it while tightening the plug to the appropriate torque.
Fill the engine or oil can with oil using a syringe.
Good to know: refer to the manufacturer’s recommendations for the seal diameter, the tightening torque of the plug, and the quality and quantity of oil required.
Warm up the engine and check the plug for leaks.
Case 2: Repair an oil filter leak
Oil filters may have leakage problems due to a faulty crimp, or their gasket may be incorrectly positioned or damaged.
Replacing the oil filter will usually solve the problem.
Place a drain pan under the oil filter.
Loosen the filter with a filter strap.
Check that the gasket has not stuck to the engine block. Remove it if necessary.
Replace the new filter by lightly moistening the oil seal.
Tighten moderately.
Good to know: when the filter contacts the block, tighten by 8/10ths of a turn, unless the manufacturer specifies otherwise.
Start the engine and check for leaks.
Case 3: Change the leaking oil pressure switch
The oil pressure switch measures the oil pressure and sends an electrical signal to the instrument cluster. If there is a leak, which can be significant, it often occurs at the crimp of this part.
The oil pressure switch is often located near the oil filter, so replacing the oil pressure switch does not present any particular difficulties, apart from the fact that some engines are very difficult to access.
Place a drip tray under the oil pressure switch.
Place a cloth under the pressure switch.
Disconnect the electrical wire from the pressure switch.
Using the appropriate wrench, loosen the fasteners and remove it.
Screw the new pressure switch back on quickly to prevent oil from dripping.
Wipe off the oil traces and start the engine to check the repair.
Case 4: Repair a leak at the camshaft cover
Remove the elements preventing access to the cylinder head cover (air filter housing, hoses, electrical connectors, etc.).
Loosen the fixing screws with a suitable wrench. They are generally located on the periphery of the camshaft cover.
Remove the camshaft cover.
Good to know: if it does not come off, tap it with a plastic mallet to unlock it. Never use force with a lever.
Remove the seal, clean the parting line if necessary and place the new seal on the camshaft cover.
To reinstall it, carry out the operations in the reverse order of removal.
Important: observe the specified tightening torques and any tightening sequence.
Warm up the engine and check for leaks.
From this post you should be able to tackle the task yourself if you are good at handling car repairs. If you have any doubt, please do not attempt any of the above. The best you can do is take your car to XTREME MOTOR WORKS in Kissimmee. And, remember to leave your comments in the section below!
1 comment
[…] Oil Leak Under the Car, What to Do? […]