
Contents
Step 1: Dismantle your frame
Step 2: Strip your motorbike frame
Step 3: Prepare your paint shop
Step 4: Apply the paint to the motorbike frame
Step 5: Reassemble your motorbike
Do you want to change the colour of your motorbike frame? Or have scratches, dents or rust from a fall, or other mishap appeared? Repaint your motorbike frame yourself to give it a new lease of life.
Good to know: it’s the same principle for repainting a scooter, moped or Solex frame, etc.
To obtain a satisfactory result, take your time and not neglect the preparation stages. All bodywork requires attention to detail and patience.
Here is a step-by-step guide to painting a motorbike frame.
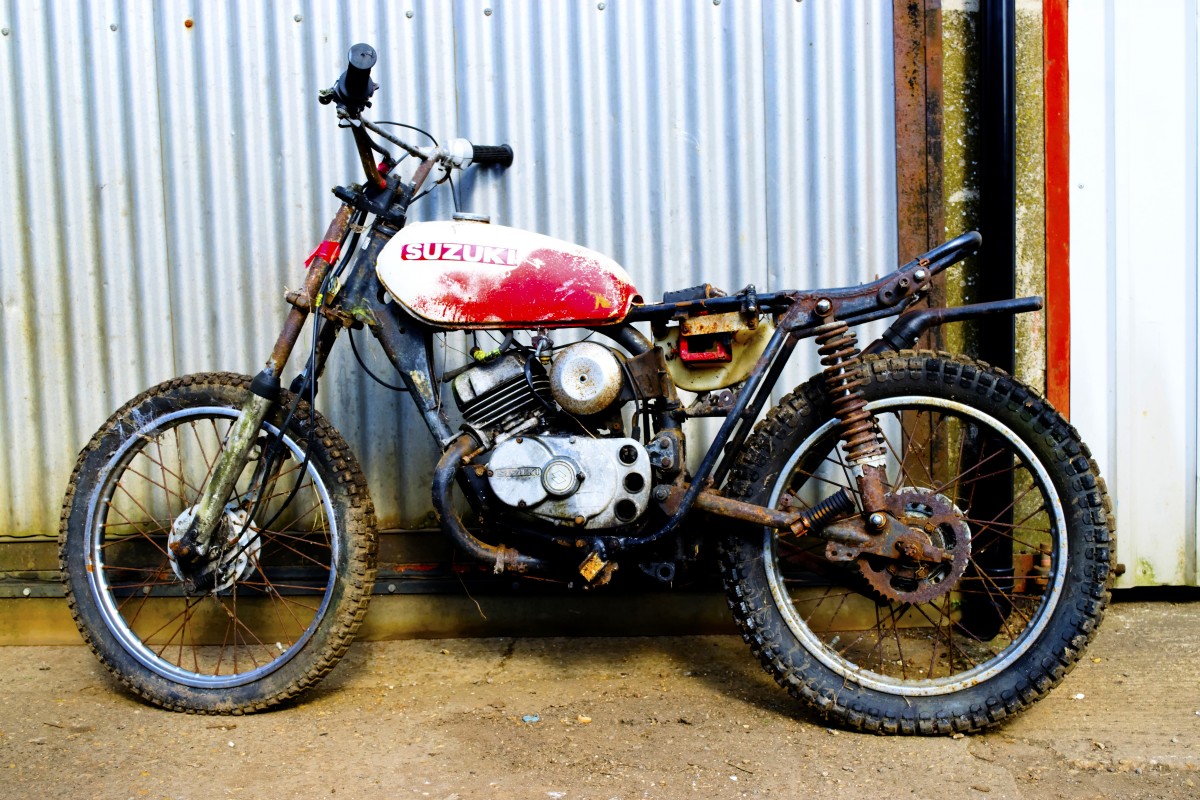
1. Dismantle your frame
The motorbike frame connects the main components that make up the bike. Overall, it consists of 3 tubes that form a triangle, with the point facing down. You have to dismantle it and remove all the attached parts to paint it.
Make sure you have the necessary tools to dismantle the frame.
Important: some motors require special tools (pullers or screwdrivers with unique indentations) to be removed.
Also, get a few plastic boxes to store the screws and bolts as you dismantle them.
Remove the engine
Depending on the motorbike, the engine can be hefty (20 to 100 kg). Get help to lift it.
Also, remove the wheels, fork, swingarm, tank, fairings, crankcase, exhaust, seat, etc.
Don’t forget to remove the footrests.
Good to know: take photos at the various stages of disassembly if you are not sure. They will help you when reassembling the bike.
2. Strip your motorbike frame
To strip your frame, you can sand it with sandpaper or have it sanded for a cleaner look.
Sanding with sandpaper
Rub the whole frame with sandpaper, focusing on rusty or damaged areas.
Start by sanding from the thickest grit (180) to the finest (600 with water).
Good to know: if you use an electric sander, use even finer paper.
For a final pass that will not leave any scratches, use the water sanding technique with very fine paper: soak your sanding paper in a tub of water before using it.
Have your frame sanded
Sandblasting, airbrushing, and micro blasting involves projecting an abrasive (sand, microbeads, etc.) at high pressure to remove rust and paint from metal surfaces. The advantage: the result is impeccable, even on curved elements that are difficult to sand by hand.
Before sanding, put the screws back into the screw holes to protect them.
Hide the steering cups if you have not removed them and have your motorbike frame sanded to get a perfect start.
Clean the frame
Finish this step by making sure you clean your frame thoroughly.
Remove all traces of dust.
Apply degreaser.
3. Prepare your workshop

To make your painting a success, prepare your workshop so that you can work in good conditions.
Choose a place sheltered from the wind (garage, etc.), free of dust and insects, which could stick to the fresh paint.
Good to know: do not paint in the middle of winter in an unheated room. A temperature of 23°C is recommended.
You may want to make a homemade paint booth out of large cardboard boxes, wooden slats, and plastic sheeting.
Good to know: make the spray booth large enough to allow room to turn around the frame.
Rather than placing the frame on the ground, hang it with hooks to avoid having to paint it in several stages (top and bottom).
Protect yourself and surrounding objects (paint suit, gloves, goggles and face mask): a paint mist will settle everywhere when you send the paint under pressure.
4. Apply paint to the motorbike frame
Paint with a spray gun or with spray cans. Choose a paint that is resistant to hydrocarbons. In this case, allow about 3 or 4 cans per coat, as the tubular structure of the frame means a lot of waste compared to a flat surface.
If your sanding or sandblasting has exposed the sheet metal of your motorbike frame, start with a coat of anti-rust primer.
Then apply a coat of primer (undercoat).
Between each coat, sand lightly with 600-grain water and clean up any dust. Then leave to dry for a day.
Apply a coat of paint. If you have purchased a single-coat paint, this is sufficient.
Some areas, such as the welds, are more difficult to access. Don’t try to overload them, as this can lead to unsightly drips. Instead, fill in the gaps with a second coat.
If you have chosen a two-coat paint, finish with the varnish.
Good to know: there is no drying or sanding between the coat of paint and the varnish.
5. Reassemble your bike
Before reassembling your motorbike, let the new paint dry for several days so that it hardens thoroughly.
Good to know: this also prevents the paint from being damaged when you reassemble it.
Reassemble your motorbike in the reverse order of disassembly.
Use the photos you have taken if necessary.
Take your time so as not to scratch the new paint on your motorbike frame.
Materials needed to paint a motorbike frame.
Tarpaulin
Cloth
Socket spanner
Coveralls
Degreaser
Thin protective gloves
Protective goggles
Protective mask
Sanding paper
Metal paint
Rustproofing paint
Spray gun
Adhesion primer
Phillips screwdriver