

The brake caliper is part of the braking system. Replacing it, when necessary, does not require advanced technical knowledge. However, this operation must be carried out with great care to ensure the car’s safety.
Good to know: brake caliper replacement is always done in pairs, with the installation of new pads.
Follow this step-by-step guide on how to change a brake caliper.
Focus on brake calipers
Role of the brake caliper
Brake calipers are mounted in pairs:
one on each front wheel;
and more and more often, one on each car’s rear wheel.
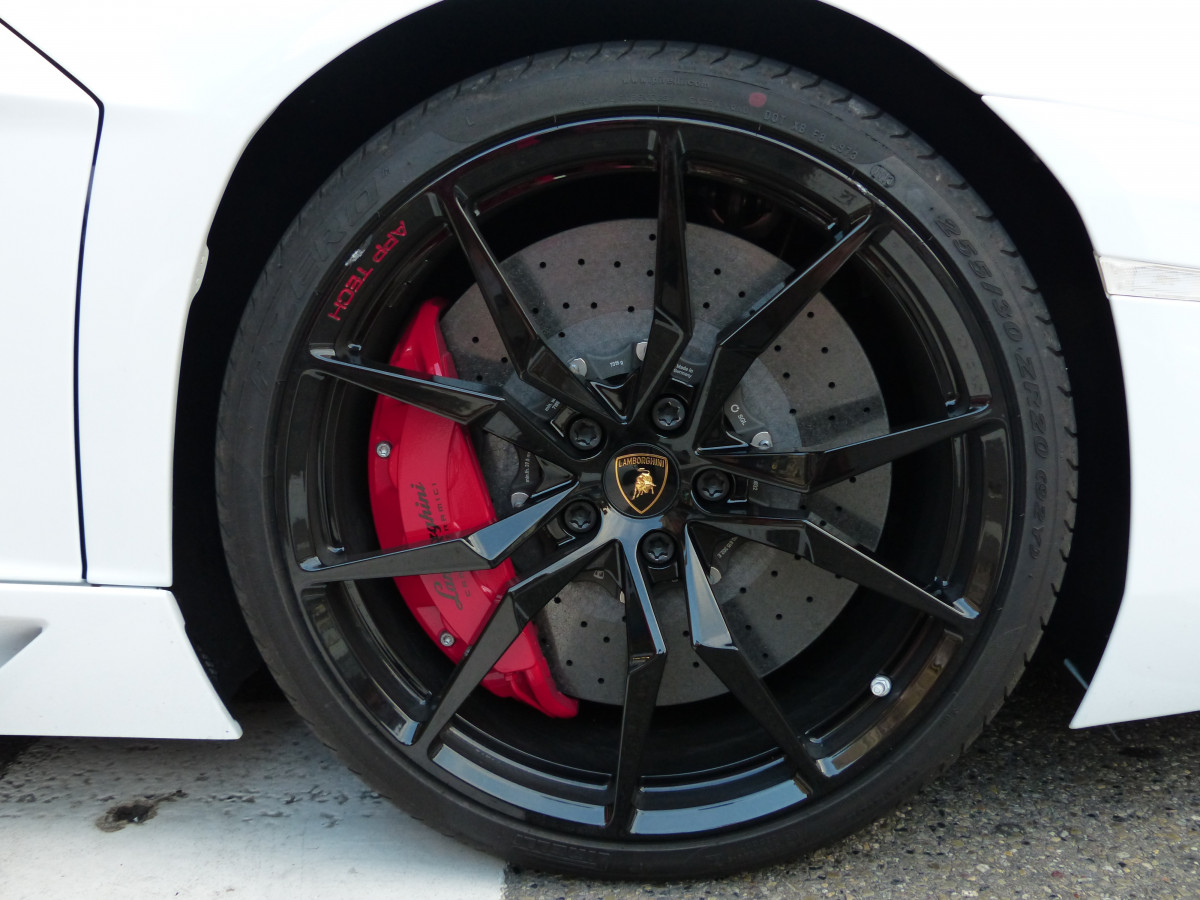
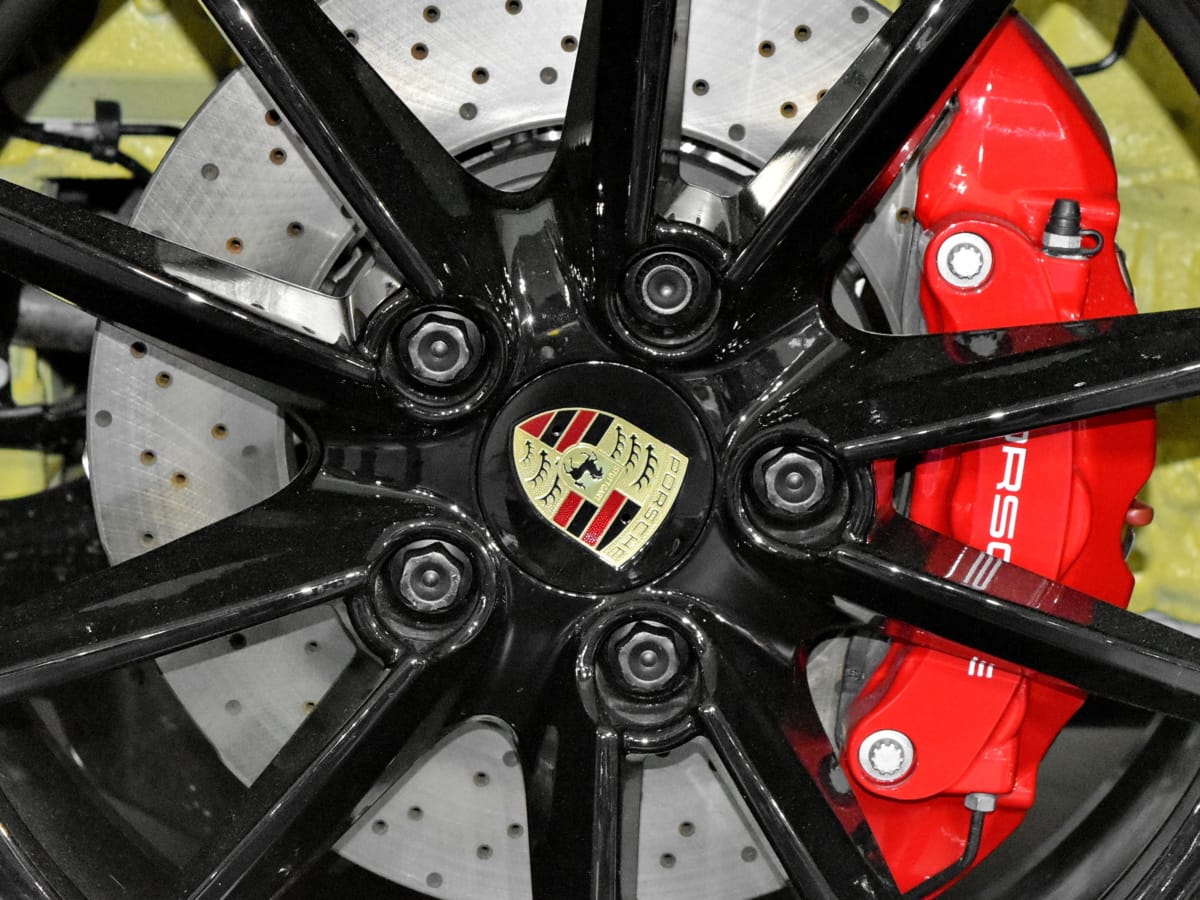
The brake caliper, consisting of the body and piston, is part of the braking system.
The brake pressure, initiated by the driver, is generated by the brake master cylinder: a control piston, mechanically pushed by the driver, transmits hydraulic pressure through the brake fluid.
This pressure is transmitted to the brake caliper through a pipe: the pipe pushes the piston against the brake pads that press against the brake disc.
The kinetic force of the vehicle is then transformed into heat energy, allowing the car to slow down or stop.
Two types of calipers
Two technological options coexist for the brake caliper.
The fixed caliper:
Its connection is complete and fixed with the wheel pivot and has no movement.
The caliper is radial with the disc, i.e., the disc rotates on its longitudinal axis.
Each half of the caliper has the same number of pistons (from 1 to 3 in general) that act simultaneously on the brake pads on either side of the disc.
The floating caliper:
The caliper is composed of a fixed clevis, on which slides a mobile part that clamps the disc. Only one side is equipped with pistons (1 or 2).
When braking, the hydraulic pressure presses the piston and a pad against the disc. By reaction, the mobile caliper slides on the clevis and presses directly the pad on the opposite side against the disc, the effort being distributed evenly on each side.
Perform your diagnosis
Find out if there are other causes besides the caliper(s) in play
Before blaming the caliper(s), eliminate other possible sources of failure.
Pivot, the caliper support is bent.
The pivot can be deformed following an impact or a recent intervention (wheel replacement with a hydraulic press).
In this case, the caliper, which no longer acts in the axis of symmetry of the disc, brakes the wheel, causing unbalanced braking and heating of the brakes.
The brake hose is defective.
This hose, which provides a flexible connection between the rigid pipe and the mobile caliper, is composed of several layers.
The inner layer can split and act as a valve, blocking residual pressure at the brake release, which brakes the wheel.
Cracked and leaking, the hose can also cause fluid to leak or seep out, resulting in a soft pedal.
Identify a defective brake caliper
If the above causes are not found, the problem may be with the brake calipers.
The braking is unbalanced, and the car “pulls” to one side when braking. In this case, it is:
a brake caliper seized at the piston, which remains engaged on the pad;
or, specifically for the floating caliper, one or more of the 2 columns allowing the caliper to slide are seized.
The brakes remain more or less applied. Here again, it is a seizure of the piston or the column.
Important: This problem can also be caused by a defective brake hose. If both sides of the car have a defect, it may also be residual pressure in the master cylinder.
Brake fluid leaks: the seals of the brake pistons are damaged, often due to seizure and corrosion.
The brake caliper must be replaced if any of these problems are found.
Good to know: it is often possible to repair brake calipers. There are repair kits available (piston seal kit and caliper kit), which reduce the cost of repairs by up to a factor of 10.
Remove the brake caliper
Remove the wheel
Turn the side to be removed so that the brake caliper faces outward.
Apply the handbrake, put it in gear, and place a chock behind the rear wheel on the opposite side.
Release the wheel studs without loosening them.
Lift the side of the caliper to be removed, front or rear, with a jack.
Place a safety stand and remove the wheel.
Remove the brake caliper
Using a large flathead screwdriver or tire iron, pry the brake pads away from the disc.
Remove the pads.
Place a container on the ground to catch the brake fluid.
Loosen the hose on the hard pipe side with a pipe wrench. If the hose is seized on the frame side :
spray with degreaser, tighten a vise grip on the pipe wrench at the legs on the nut (to keep the wrench from turning on the nut), and give it a sharp tug to loosen;
or heat the pipe nut with a gas or oxyacetylene flashlight. Before doing so, loosen the bleed screw on the caliper.
Important: loosening the bleed screw prevents overpressure due to heat and the risk of explosion and fire!
Remove the key holding the hose in place.
Good to know: this allows the hose to be placed in the right position when reassembling, preventing it from twisting.
Unlock the hose on the bracket side.
Remove the 2 screws securing the caliper to the pivot. If the screws do not loosen or resist abnormally to loosening, the screws have probably been coated with thread locker:
do not insist or you risk destroying the thread;
heat locally with a blowtorch to destroy the product.
Good to know: in general, small flames crackle, revealing the effective presence of the product.
Remove the brake caliper from the pivot and rotate it to remove it from the hose.
Install the new caliper
Screw the new caliper onto the brake hose with a new copper gasket, if available (some screw connections are tapered).
Good to know: replace the hose beforehand if necessary.
Replace the caliper on the disc and fix it on the hub.
Good to know: you can apply a thread locker on the screws (medium braking, allowing easy disassembly).
Install the new brake pads.
Then lock the hose on the brake caliper.
Position the hose so that it does not twist, and place the retaining key on the chassis side.
Tighten the nut of the rigid pipe on the hose.
When the wheel is turned, check that the hose is not twisted or rubbing.
Bleed the brake system
Important: Have a second person help you bleed the system unless you have the proper equipment.
Prepare the equipment
Take a 50 cl plastic bottle of water and a transparent nylon hose (50 cm) adapted to the diameter of the bleeding screw of the caliper.
Pour brake fluid into the bottom of the bottle.
Make a hole in the bottle cap and insert the hose into the hole so that it is immersed in the fluid.
Bleed the system
In order to bleed the fluid, have your helper move into the driver’s seat to operate the brake pedal as you request.
Good to know: Start bleeding on the wheel furthest from the master cylinder.
Place the nylon hose on the caliper bleed screw with the bleed closed.
Have your assistant pump the brake pedal (6-8 times in succession).
Then have him or her hold the brake pedal down hard.
Loosen the bleed screw a quarter turn to release the air in the cylinder.
Good to know: the hose immersed in the fluid prevents air from being reintroduced into the system.
Tighten the bleed screw.
Repeat these operations until all air bubbles have disappeared, the bleed hose should ideally be filled with liquid.
Repeat this step for each wheel.
Recondition the vehicle in running order
To do this, perform the steps in reverse order of removal, observing the following safety precautions.
Check all tightenings.
Tighten the wheel to the recommended torque. For a passenger car:
7 to 9 DAN.m for a steel rim;
8 to 12 DAN.m for an aluminum rim.
Good to know: put away the keys corresponding to the different tightenings only when they are done. If in doubt, systematically recheck.
The replacement of the caliper systematically requires the installation of the pads against the discs. This involves pumping the brake pedal until a minimum stroke is achieved.
Good to know: do not forget this essential operation; place a large sheet of paper on the steering wheel beforehand, reminding you of the brake pistons to be repositioned. Remove the sheet once the pedal has been “pumped”.
Check the brake fluid level in the master cylinder jar.
Finally, perform a road test which should confirm effective braking, no suspicious noise from wheel rotation or braking action, etc.
Materials needed to change a brake caliper
Flashlight
Torque wrench
Jack
Degreaser
Tire iron
Threadlocker
Disposable latex gloves
Pliers
Container
Flat screwdriver
1 comment
[…] How to Change a Brake Caliper; […]