
How to Paint an Auto Body: A Step-by-Step Guide to a Professional Finish
Are you looking to give your beloved car a fresh new look? Painting the auto body is a great way to transform its appearance and breathe new life into it. While the task may seem daunting, with the right tools, materials, and techniques, you can achieve a professional-looking finish right in your own garage. In this guide, we will take you through the step-by-step process of painting an auto body, helping you achieve stunning results that will make your car stand out on the road.
Step 1: Preparation
Before diving into the painting process, thorough preparation is crucial. Start by cleaning the car’s exterior to remove any dirt, grease, or debris. Next, inspect the surface for any rust, dents, or scratches. Repair these imperfections using appropriate tools and fillers, ensuring a smooth and even surface for painting. Finally, mask off any areas you don’t want to be painted, such as windows, headlights, and trim.
Step 2: Sanding
Sanding is an essential step to ensure proper adhesion of the paint. Use fine-grit sandpaper or a sanding block to gently roughen the entire surface of the auto body. This will help remove any existing paint imperfections and create a good surface for the new paint to adhere to. Be sure to sand in a consistent pattern and keep the surface smooth and even.
Step 3: Primer Application
Applying a primer is crucial for achieving a professional finish. It provides a smooth and consistent base for the paint, improves adhesion, and helps prevent corrosion. Select a high-quality automotive primer and apply it evenly to the sanded surface. Follow the manufacturer’s instructions for drying times and the number of coats needed.
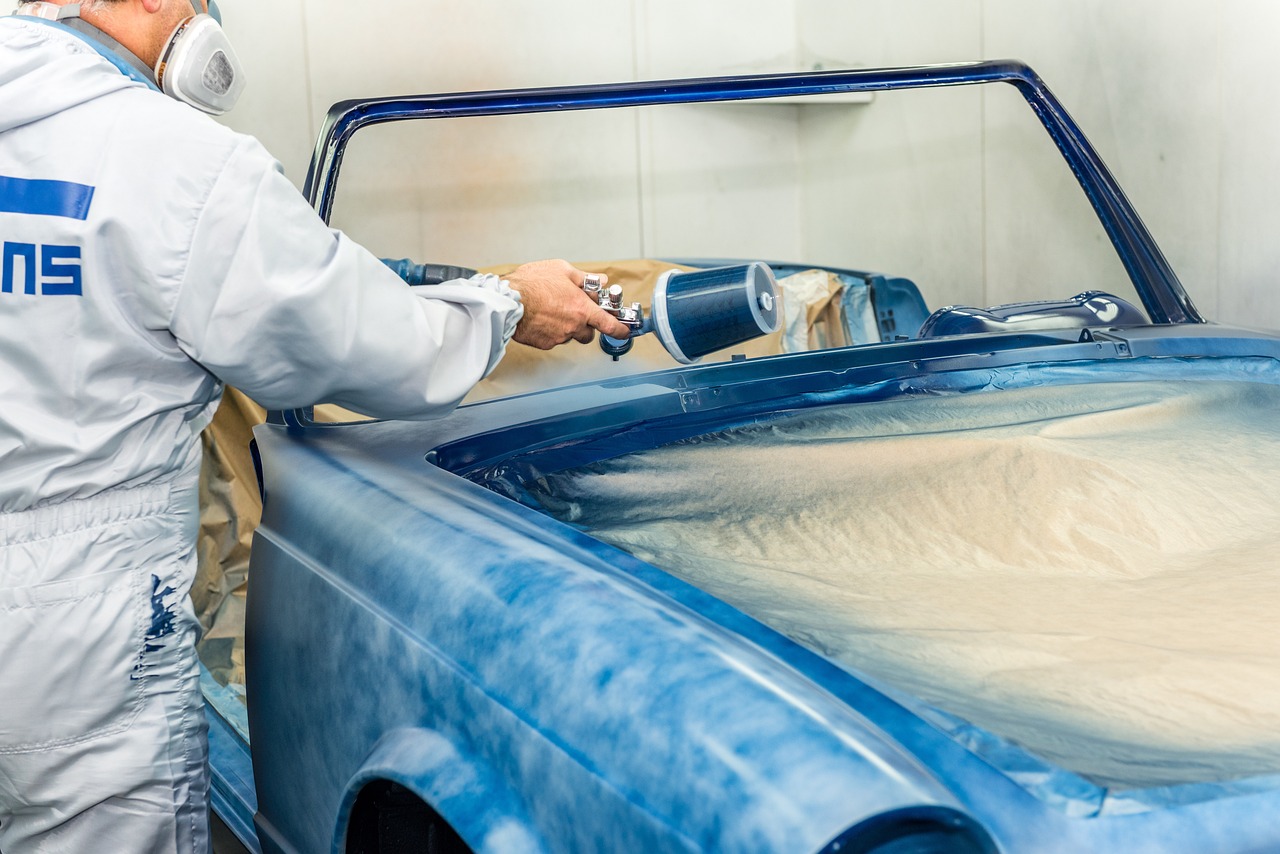
Step 4: Painting
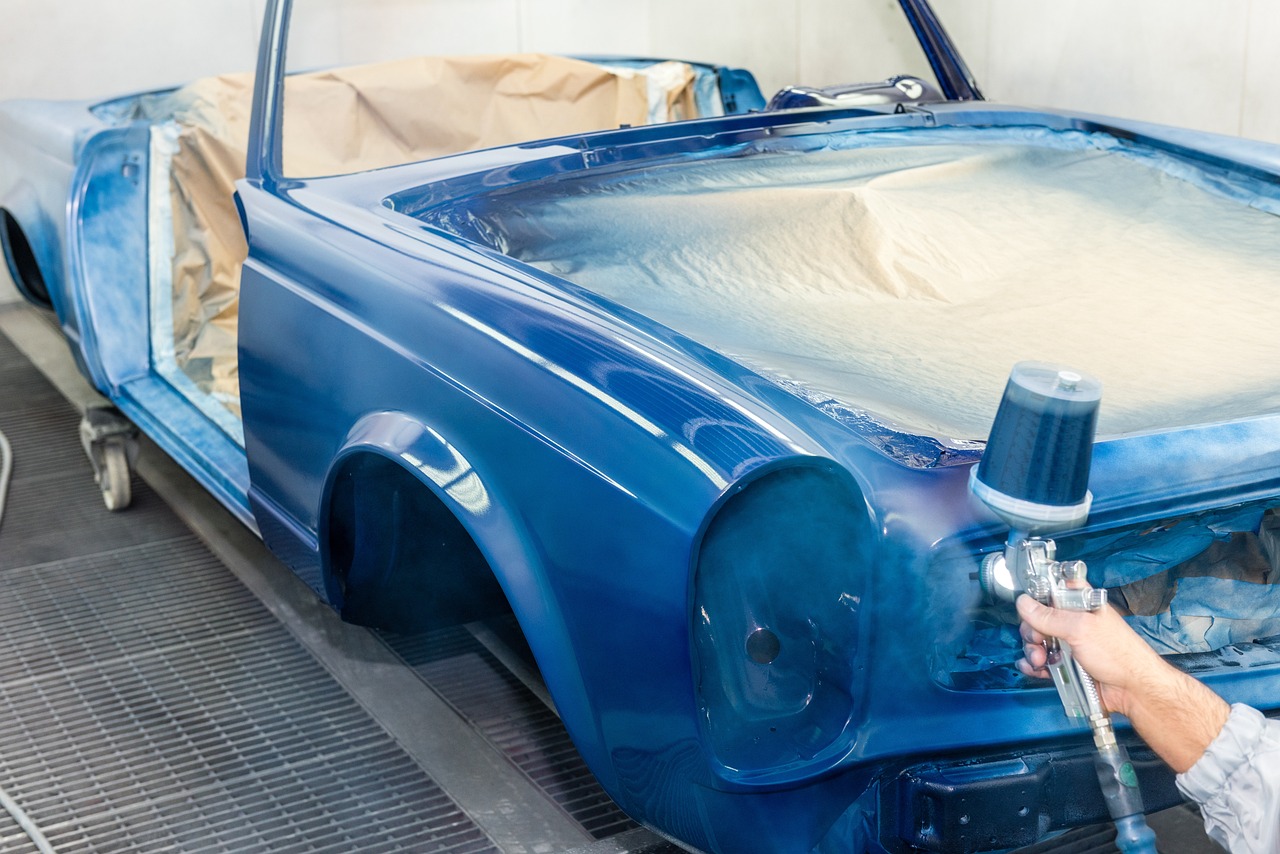
Now comes the exciting part – applying the paint. Choose a high-quality automotive paint in the color of your choice. Use a paint gun or spray can for an even and professional application. Start with light, thin coats, ensuring complete coverage without drips or runs. Allow each coat to dry before applying the next. Apply multiple coats until you achieve the desired color and finish.
Step 5: Clear Coat Application
To protect the paint and give it a glossy finish, apply a clear coat. The clear coat acts as a shield against UV rays, weathering, and scratches. Apply it in thin, even layers, following the manufacturer’s instructions for drying times. Be mindful of dust and debris during this process to ensure a smooth and flawless finish.
Step 6: Finishing Touches
Once the paint and clear coat have dried completely, remove any masking tape and paper. Inspect the painted surface for any imperfections or uneven areas. Use fine-grit sandpaper to smooth out any rough spots, and polish the surface for a glossy shine. Finally, apply a high-quality automotive wax to protect the paint and enhance its luster.
Painting an auto body is a rewarding DIY project that can give your vehicle a fresh and attractive appearance. By following these step-by-step instructions and using the right tools and materials, you can achieve a professional finish that will make your car look like it just rolled off the showroom floor. Remember to take your time, pay attention to detail, and enjoy the process. Get ready to turn heads as you cruise down the road in your newly painted ride!
Good to know: if all these steps seem tedious, do not hesitate to call a professional for a perfect result.
Don’t forget to share your experience in the comments below and feel free to ask any questions. Happy painting!