
Embarking on the Tire Journey
Tires are more than just rubber on the road; they are critical components that influence your vehicle’s performance, safety, and overall driving experience. Whether you’re a seasoned car enthusiast or a DIY enthusiast eager to delve into the world of tire maintenance, mastering the art of mounting and dismounting is a valuable skill. In this guide, we’ll walk you through the process, step by step, unveiling the secrets of tire mastery.
Gearing Up for the Task
1. Gather Your Tools
Before you begin, ensure you have the necessary tools at your disposal. This includes a tire iron, a jack, lubricant, a valve core tool, and a tire machine or manual tire changer. Having the right tools makes the process smoother and minimizes the risk of damage to the tire or rim.
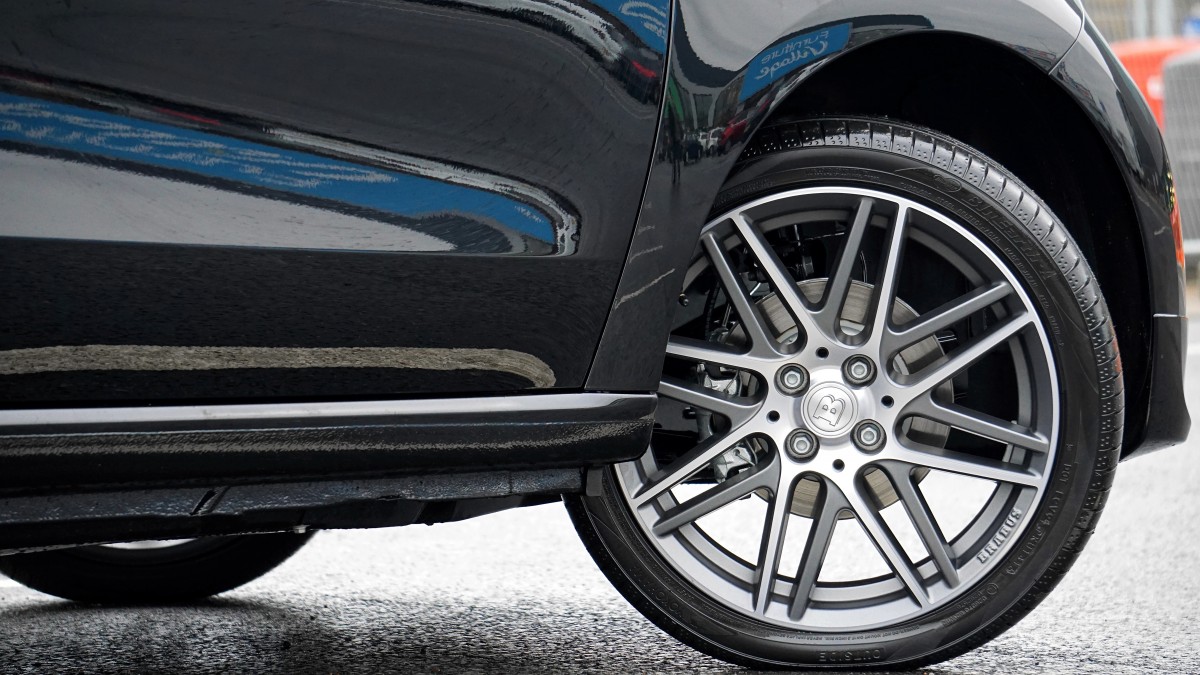
Mounting a Tire: A Precision Task
2. Positioning the Tire
Start by placing the tire on the tire machine or manual tire changer. Ensure that the tire is properly aligned and secure on the machine, ready for the mounting process.
3. Applying Lubricant
Apply a generous amount of lubricant to both the tire bead and the rim edge. This lubrication eases the mounting process, reducing friction and preventing damage to the tire or rim.
4. Aligning the Beads
Carefully align the tire beads with the rim groove. Take your time to ensure a proper fit, as misalignment can lead to difficulties in seating the tire correctly.
5. Using the Tire Machine
If you’re using a tire machine, engage it according to the manufacturer’s instructions. The machine will assist in stretching the tire over the rim and ensuring a secure fit.
6. Manual Mounting Technique
For those opting for a manual approach, use the tire iron to gradually work the tire onto the rim. Exercise caution to avoid pinching the inner tube if your tire setup includes one.
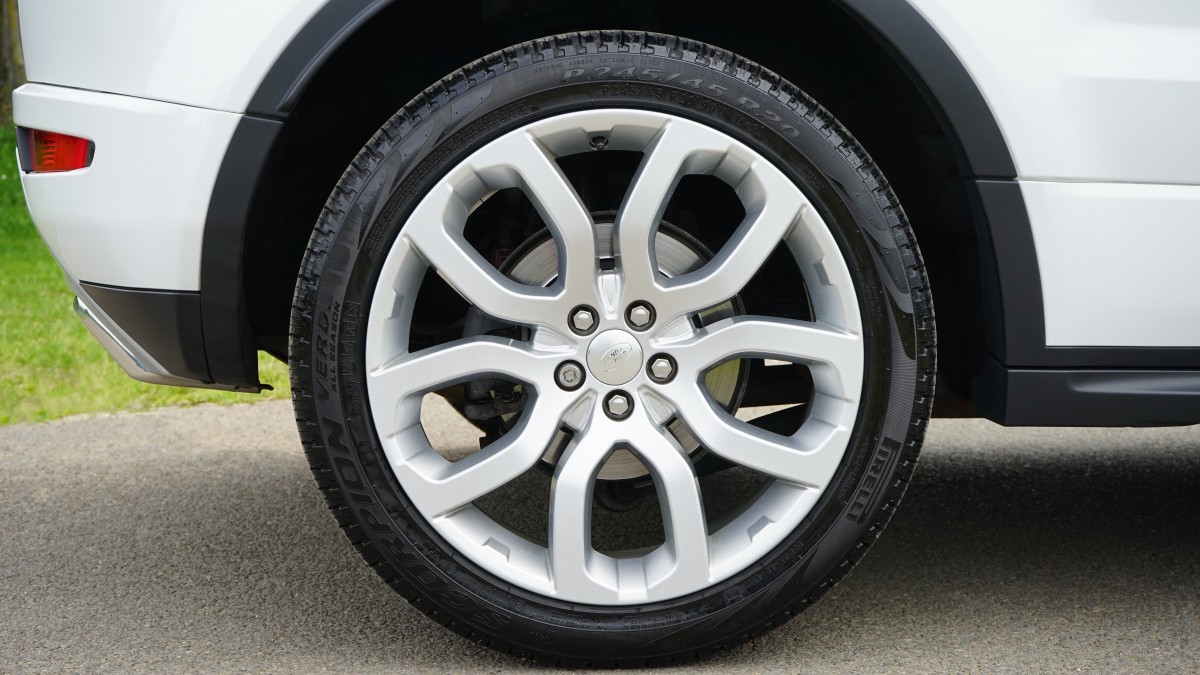
Dismounting with Precision
7. Deflating the Tire
Before attempting to dismount a tire, deflate it completely. Use the valve core tool to remove the valve core, allowing air to escape rapidly.
8. Placing the Tire on the Machine
Position the deflated tire on the tire machine or manual tire changer, ensuring it is secured and ready for the dismounting process.
9. Breaking the Bead
Use the tire machine or a bead-breaking tool to break the bead of the tire. This step is crucial in loosening the tire from the rim, making the dismounting process more manageable.
10. Levering the Tire Off
Engage the tire machine or use tire irons to carefully lever the tire off the rim. Take your time to avoid damaging the tire, rim, or inner tube during the process.
Celebrating Tire Mastery
Unleashing Your Tire Expertise
Congratulations, you’ve mastered the art of mounting and dismounting tires! This valuable skill not only empowers you to handle routine tire maintenance but also gives you a deeper understanding of your vehicle’s components. As you confidently embark on your tire mastery journey, may the road ahead be smooth, and your tires always ride true.
Share Your Tire Tales
Join the Conversation
Have you ventured into the world of tire maintenance? Share your experiences, tips, or challenges in the comments below. Your insights contribute to the collective knowledge of car enthusiasts exploring the realm of tire mastery.
Rolling Forward with Confidence
Tire mastery is more than a skill; it’s a journey of exploration and understanding. As you roll forward with confidence, may each turn of the tire remind you of the expertise you’ve gained and the road of discovery that lies ahead. Happy and safe driving!