
Summary:
What is paintless dent removal?
Step 1: Clear access to the rear of the dent
Step 2: Heat the area to be repaired
Step 3: Push the bump outwards
Step 4: Reassemble all interior components
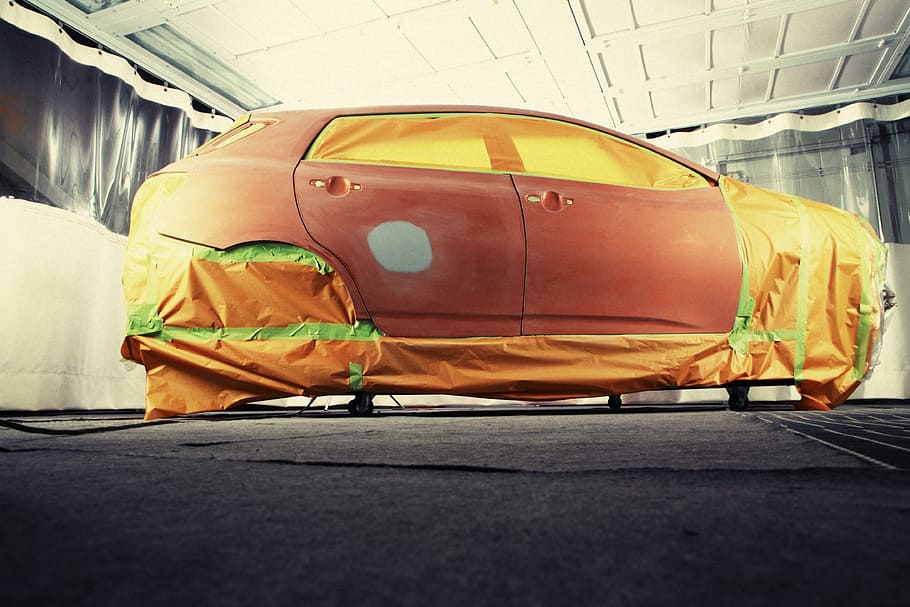
In a parking lot, an indelicate neighbor left his door mark on your car. Or a shopping cart made a dent in your car. Or hail during a big storm. You can repair all these small impacts of everyday life by removing dents from your bodywork.
Here are all the steps to successfully remove a dent from your car’s body.
What is paintless dent removal?
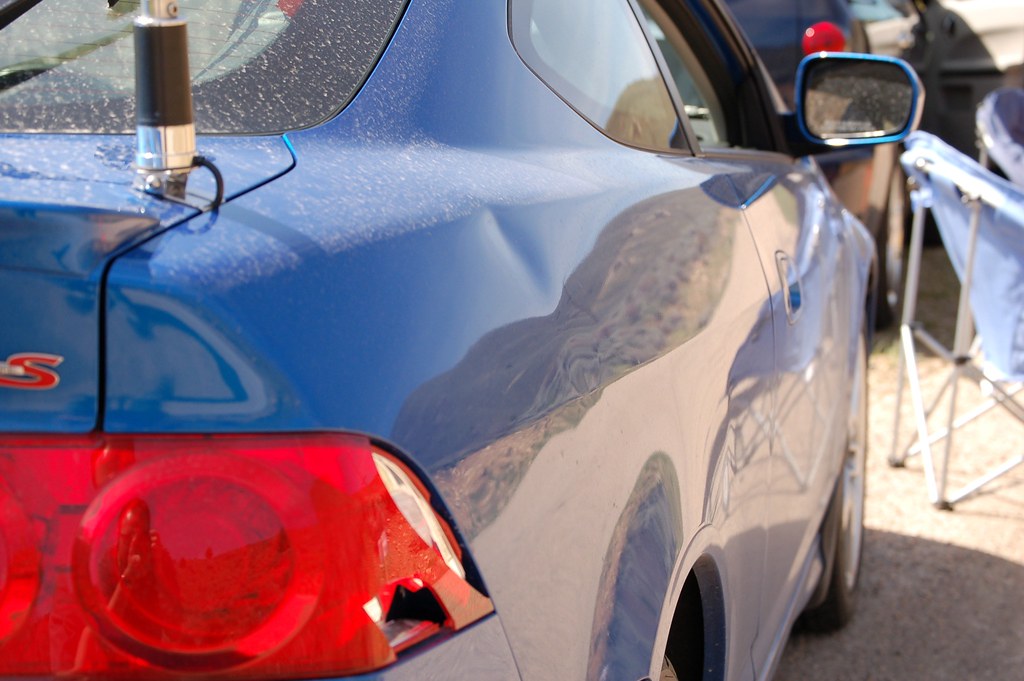
This method is less restrictive than the application of putty and paint, but it can only be applied in certain cases :
Impacts must be small, no more than the size of a two-dollar coin. If the dent is larger, the deformation of the sheet metal will be too great and specific devices will be needed to repair it. The dent must not show any paint chips.
You must have access to the back of the damaged sheet metal. This is a delicate manoeuvre, which requires a certain amount of help. Do not hesitate to take your time for this type of operation and repair the dent in several times. Lack of patience could lead to an even greater deformation than the initial impact.
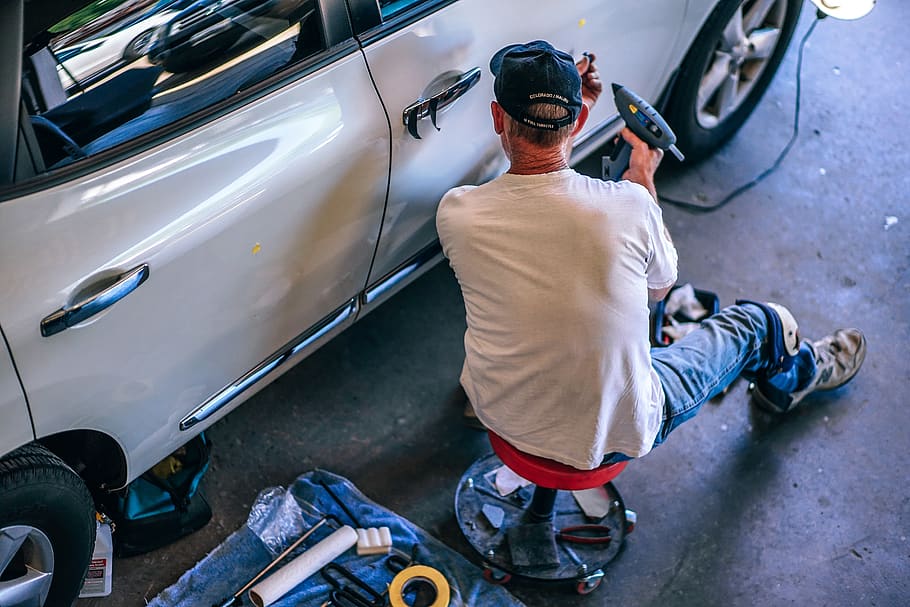
Step 1: Clear access to the rear of the dent
You must have access to the dent from the inside of the body. This is not always possible. So first check that the area where the dent is located can be cleared.
Tip: Grab a copy of your car’s technical manual. It contains all the information you need to remove the trim without damaging the small plastic tabs that hold the trim in place.
If the impact is on the bonnet, you will be able to go through the holes in the sheet metal lining.
If it is in a door, carefully remove the door trim. Remember to remove the rain shield inside the trim without tearing it.
If the dent is on a fender, first check that it is a sheet metal fender. Many cars have plastic fenders at the front now. Remove the mudguards so that you can access the sheet metal from underneath.
For an impact on the trunk, the interior needs to be disassembled as well.
If you cannot do this, you can contact THE AUTO DENTIST to help you remove the dent.
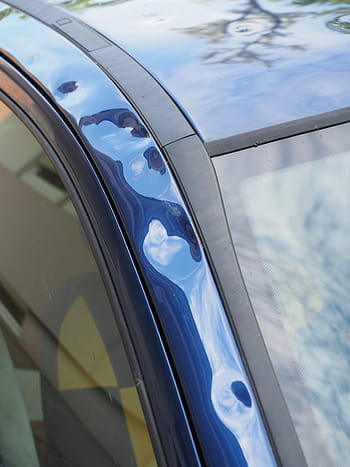
On the roof, the stripping operation is tricky because the roof canopy is very fragile.
Remember to take photos of the components before dismantling them. You can then refer to these pictures so that you don’t forget anything when you reassemble them. Also use small recovery boxes to store the screws and small parts of each part during disassembly. This will prevent them from getting lost or mixed up.
Step 2: Heat the area to be repaired
Use a hair dryer to soften the area where the bump is located. This will prevent the paint from peeling when you reshape the sheet metal. You can also simply put your vehicle in the sun.
Step 3: Push the bump outwards
Use a wooden rod or a metal rod covered with a cloth held in place with a rubber band, so as not to scratch the interior paint. Even on hidden parts, moisture could eventually cause the sheet metal to rust and eventually form holes in the bodywork.
Gently push the dent outwards. Make several passes with your tool, starting at the edge of the dent and gradually moving back towards the centre.
Take the time to check the result by looking outside the car. Start pushing the sheet metal back as many times as necessary, without ever wanting to go too fast so that you don’t create paint chips where there were none. If the impact was in an edge of the bodywork, reshape it.
Note: professional dent removers use lamps to better observe the impacts on the bodywork: shadows bring out the relief. You can use a flashlight to direct a low-angled light towards the damaged body part. They also use mirrors to observe the result of their thrusts without having to move out of the car each time. This is a trick that you can reproduce very well.
Step 4: Reassemble all interior components
To finish, reassemble the fittings you have removed to access the rear of the dent. Again, use the technical review to guide you through the reassembly. If necessary, refer to the photos you took before disassembly.
If you liked this blog post, very soon we will publish another article on Bodywork Dent Removal that will cover even more interesting topics such as:
– Bodywork Dent Removal: the different causes
– Specific equipment for bodywork dent removal
Stay on the lookout for more postings on our blog and remember to leave your comments below. We’ll keep you posted on the next one!
1 comment
[…] – DIY Auto Body Dent Removal […]