
Summary
– Step 1: Get the body part you want to change.
– Step 2: Repair small impacts of the body component
– Step 3: Find the exact colour of the car
– Step 3: Sand the element to be repainted
– Step 4: Apply a coat of primer.
– Step 5: Re-sand the body part
– Step 6: Apply paint to the bodywork
Let’s go straight to the point! Wing down, damaged car door: used or new, these body parts are fairly easy to find. But not necessarily in the right colour. Here are the steps on how to get the right colour to paint a car body.
This post is for the DIY enthusiast or someone who would like to know how things go up there at the vehicle body repair shops.
Note: automotive spray paint is solvent-based and highly volatile. A paint mist will form during use. Therefore, paint in a well-ventilated room and protect yourself (mask and goggles).
Equipment needed to paint a car body:
- Spray paint can
- Chiffon
- Degreaser
- Gloves, mask and goggles
- Sanding paper
1. Obtain the body part to be changed
Depending on your budget, you can replace the damaged body component with:
– new but not painted (only rust protection has been applied to the sheet metal);
– second-hand, but which may be a different colour. To find the used part, look for a car model identical to yours. Remember to check the number of doors on the donor vehicle. For example, the fender may be longer on a 3-door car than on a 5-door. And choose an item that has as little impact as possible.
2. Repair small impacts of the bodywork element
Even for a new body part, small impacts can occur on a fender or door. Cover them with finishing putty:
– Start by sanding around the damaged area so that the filler adheres.
– Dust well with a cloth and degrease.
– Apply the body filler with a knife in several thin coats.
– Allow drying according to the manufacturer’s recommendations.
– Resume sanding with an orbital sander with finer grains (150, then 220, then 320). Check by hand that no roughness remains.
Finding the exact car colour
On each vehicle, the reference of the original colour is written on a metal plate, a label or painted directly on the sheet metal. But depending on the car, the information may be located in the door, under the bonnet, in the boot or even under the spare wheel… If you can’t find it in Melbourne, have it checked by Eastland Body Repairs.
The colour code is different depending on the make of your car. So, when you have the right reference, you can order a spray paint can of the exact colour of your bodywork.
Tip: the number of sprays to order will depend on the size of the element to be repainted, the colour and the brand of your paint (some colours cover better than others). In general, count at least 3 sprays for one door.
3. Sanding the part to be repainted
To allow the paint to adhere, the element to be repainted must be sanded. This is a long and laborious job, but it is essential:
– If it is a new door or fender, simply scrape off the corrosion protection (without removing it) with a grey scrubbing brush type pad.
– If you are repainting a used body component, consider sanding the entire component to medium grit (240 or 320) with an orbital sander. In the same way, as for a new element, you must not expose the sheet metal, otherwise, the rust protection will be removed. If sanding by hand, use a finer grit (400).
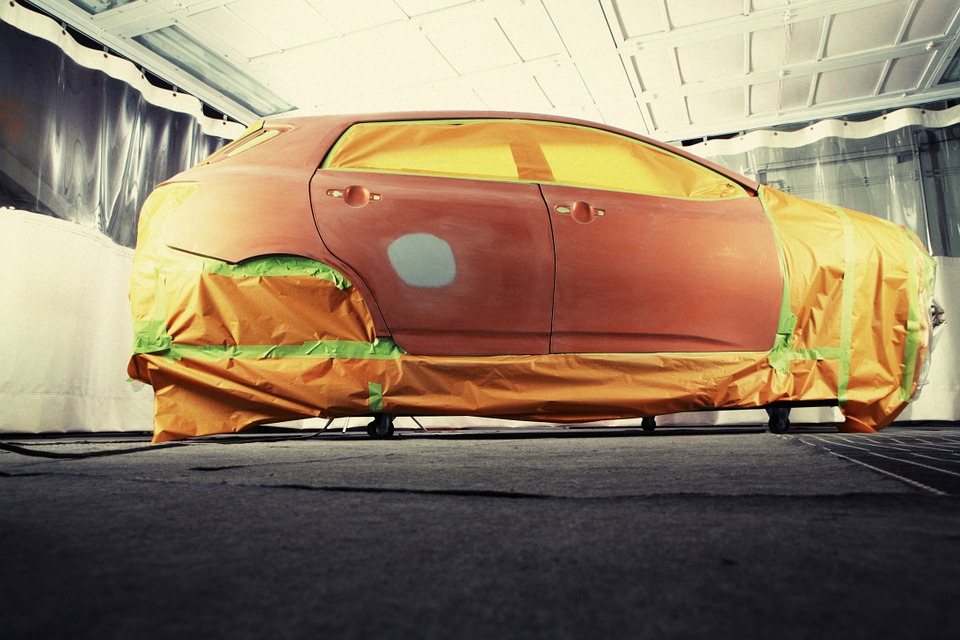
Tip: Before this step, make sure to protect or remove the parts that will not be painted (windows, seals, handles).
4. Apply a primer coat
After dusting and degreasing the parts to be painted, start by applying a coat of primer. This undercoat, which can be grey, white or tinted, will allow the finishing paint to adhere well. Apply it in the same way as the paint, in a thin layer and by applying the number of coats recommended by the manufacturer.
5. Re-sand the bodywork part
After the primer has dried:
– Re-sand the body part to be repainted with a fine grit (dry 400 grit or wet 600 grit).
– Remove dust with a clean cloth or blower.
– Finally, apply a clean cloth soaked in degreasing agent to the entire area to be painted. This highly volatile product dries immediately after application and avoids discomfort, as the paint does not stick to greasy areas.
6. Apply the paint to the bodywork
– Hold the can at right angles to the body to be painted, about 20 centimetres away.
– Always apply thin coats to prevent dripping.
– Apply the number of coats recommended by the manufacturer.
– Allow drying thoroughly between coats.
So, that’s it! If the paint on your car is a direct gloss, you are all done. For vehicles with two-coat paint, you will still have to apply varnish in two coats, using the same method.