
Summary
Intro: How the shock absorbers of a motorcycle work
1. Changing the Shock Absorber Handset
2. Changing a mono-shock
3. Change combination shock absorbers
4. Change a mono-shock
The rear suspension, whether composed of one or two shock absorbers, offers comfort and stability to your motorcycle by damping the roughness and defects of the road. With time and regular use, a shock absorber wears out and requires replacement. Here’s how to change the shock absorbers of a motorcycle.
Intro: How the shock absorbers of a motorcycle work
The rear suspension is used to control the oscillating movements of the arm and its wheel. It is composed of one or more shock absorber combinations between the arm and the chassis part.
There are two types of shock absorbers: the double shock absorber and the single shock absorber:
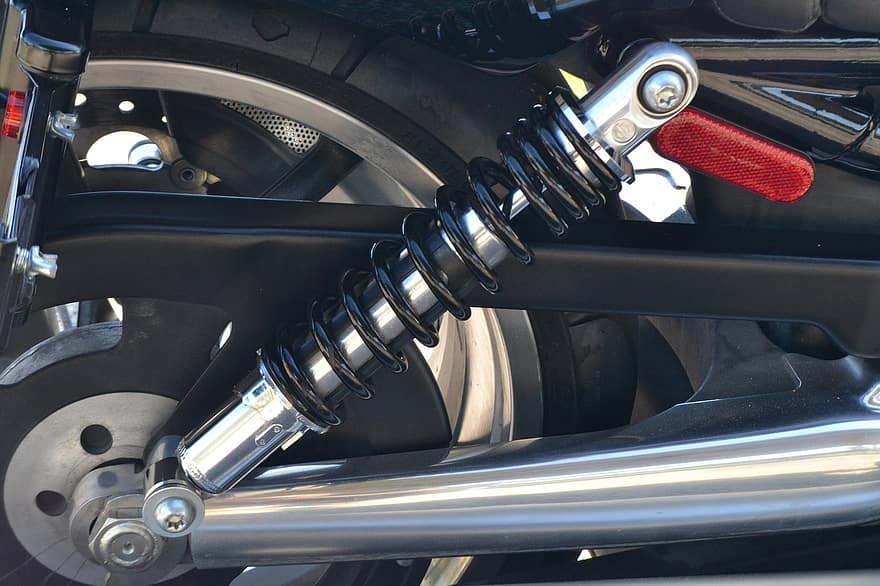
The two combined shock absorbers (spring and hydraulic) are located on either side of the wheel between the arm (above the wheel axle) and the rear frame.
The mono-shock brings on its side more comfort and more progressiveness thanks to its connecting rods between the frame, arm, and shock absorber.
Note: Most suspensions are made up of spring and oil, although some brands use an air system.
1. Changing the shock absorber combination
If your motorcycle is equipped with a central stand, it is ideal, otherwise:
– Position your bike on the side stand.
– Place a car jack under the swingarm, opposite the side stand.
– Loosen the nuts with a nut remover.
– Let it work.
– Slightly tension the swingarm with the jack to relieve the load on the lower axle.
2. Changing a mono-shock
The operation being much dirtier for a mono-shock, wash the suspension.
– Spray all the shock absorber mounting bolts with anti-seize spray.
– Let it work.
– If you have a center stand, install the motorcycle on it, otherwise:
– Position the jack opposite the side stand on the frame.
– Ride until the rear tire comes off.
– Then go down slightly until the tire touches the ground.
3. Change combination shocks
– Take a pipe wrench of the correct size and unscrew the lower nut of the shock absorber, right or left, but not entirely.
– Then unscrew the upper nut.
– Unscrew the lower and then the upper nut.
– Pull out the shock absorber.
– Then clean the bolts with a wire brush.
– Then grease them.
– Increase the tension on the swingarm with the jack to position the new shock.
– Be careful to tighten the nuts properly so that the threads do not get loose.
– Repeat for the second shock absorber.
4. Change a mono-shock
– Remove the bolts, starting with the one located at the return rod. This will allow you to remove the shock absorber from underneath.
If there is no shock absorber rod, you will have to remove it from above and, therefore, remove the saddle and the plastic covers before removing the nuts and bolts.
– Then clean the bolts and axles with a wire brush.
– Then grease them.
– Replace worn parts such as pins or bolts that are too damaged.
– Then replace the shock absorber with the upper axle.
– Install the deflection rod.
– Replace the bolts and nuts.
– If you force to replace a pin or bolt, you are not in the correct position.
– Use the jack to change the motorcycle’s angular position to replace the bolts and pins without forcing.
– Finish tightening.
– Remove the jack.
– Check the suspension.
– Adjust if necessary.
Equipment needed to change the shock absorbers on a motorcycle.
|
Wire brush |
Starting from $1. |
|
Pipe wrench |
$3. |
|
Jack |
From $10. |
|
WD-40 Climber |
Starting from $4. |
|
Grease |
From $4 the 400 g. |