
Contents
– What are the characteristics of plastic bumper paint?
– What are the qualities and defects of plastic bumper paint?
– How to apply plastic bumper paint?
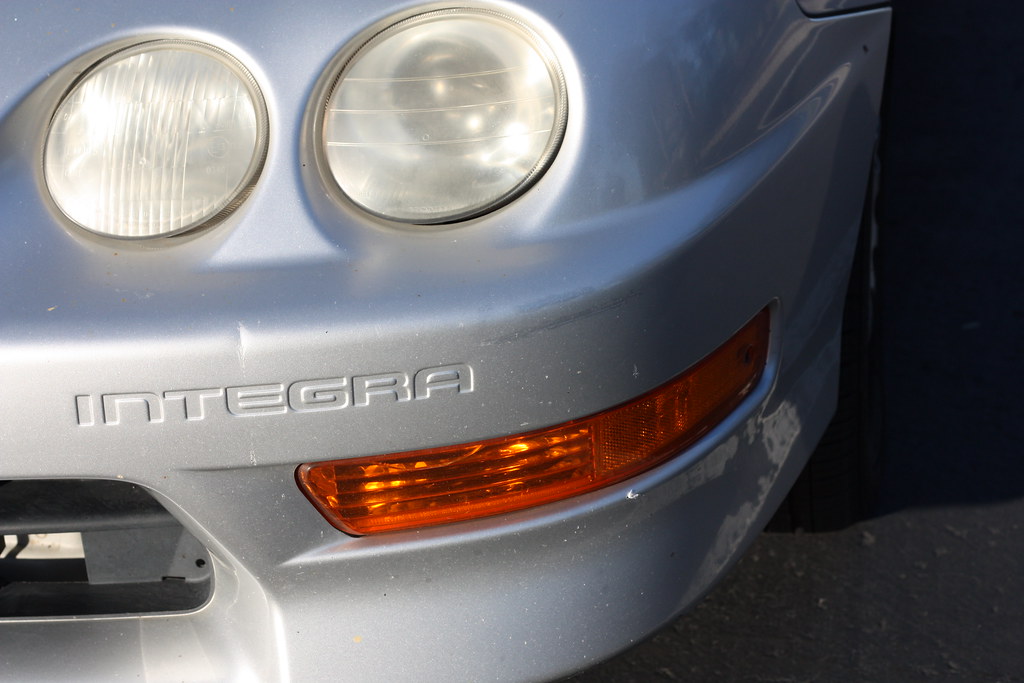
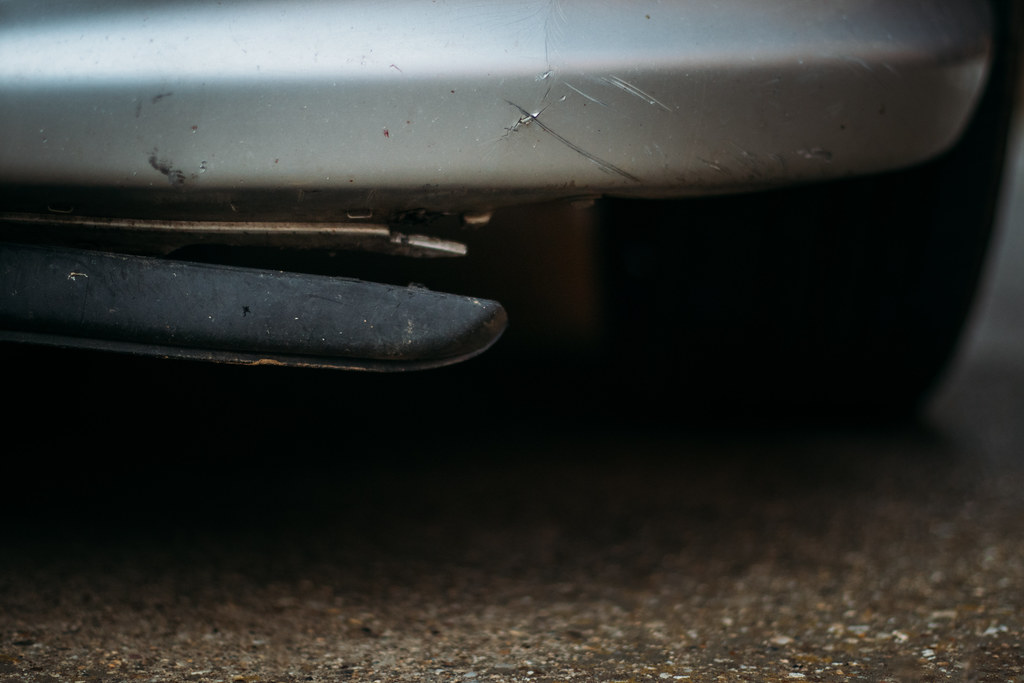
Even on a flawless car body, a plastic bumper always ends up getting damaged while playing its protective role.
In this post, you will find out how to hide scratches by using plastic bumper paint to renovate your bumper with just a few brush strokes.
What are the characteristics of plastic bumper paint?
Plastic bumper paint, also known as “spoiler paint”, comes in an easy-to-use aerosol can.
It is used to paint bumpers and spoilers (fins located at the rear of certain vehicles) and all plastic car parts (mirrors, plastic shields, etc.).
It is available in grey or black matt finish, resistant to temperatures up to 120°, petrol, UV and minor scratches.
This specific paint is applied after one particular primer coat, allowing it to have a good grip on the surface.
The car manufacturers’ colours are sold under different references, and its composition gives it maximum elasticity and high covering power.
Once applied, plastic bumper paint is resistant to washing (but avoid high-pressure washing) and weathering.
Note: it is possible to apply a varnish over the bumper paint to increase its resistance.
What are the qualities and defects of plastic bumper paint?
The main qualities of plastic bumper paint are its ease of use and low price.
However, the substrate must be perfectly prepared before application. Without this, the paint alone cannot fill minor dents and cracks in the bumper.
How do I apply plastic bumper paint?
While plastic bumper paint is relatively easy to use, painting on plastic can be tricky. Plastic is a very flexible material with non-stick properties, preventing the colour from sticking to its surface. Thus, torsion can occur and deform the rigid paint film, causing it to peel off in flakes. You will have to apply a special primer if you want a result that lasts. If you are not a DIY enthusiast, don’t take the trouble; it is better to take your car to a professional auto body repair shop.
Steps in the application of the paint
Preparing the surface
- Clean with a damp sponge and a household cleaner.
- After rinsing and drying, apply a cellulose thinner with a cloth to degrease the surface.
- Then carry out minor repairs (bumps, cracks) with a two-component polyester mastic. The latter must be sanded before painting.
Good to know: putty is a product that hardens quickly, between 5 and 10 minutes. It must therefore be worked on quickly, especially in cold weather.
- Sand with medium-grain sandpaper,
- Finish with a water-based abrasive.
- Finally, remove the dust from the surface.
Painting
First, apply a specific coat of primer. In this case, it is advisable to use a primer that adheres firmly to the plastic and is microporous to facilitate the final paint’s adhesion.
When this primer is dry (respect the time recommended by the manufacturer), then you can proceed with the painting. This is done in two or three successive coats of 10 to 15 microns thick in criss-cross passes to cover the surface better.
The touch-dry time is obtained in five minutes.
The drying time is 12 to 24 hours, depending on the brand used. If you wish to reduce the drying time to 60 minutes, expose the painted part to an infrared lamp for 7 minutes.
You can then, if you wish, apply:
– a plastic bumper restorer, formulated to restore the uneven grain effect;
– and one or more coats of varnish to further protect your paintwork.
Good to know: once applied, the paint has good resistance to washing and weather conditions, but it will not be resistant to a high-pressure washer.
1 comment
[…] – How to Apply Plastic Bumper Paint? […]