
Contents
– Step 1: Clear the access to the diesel filter
– Step 2: Drain the fuel filter
– Step 3: Disconnect the hoses from the diesel filter
– Step 4: Change the fuel filter
– Step 5: Reconnect the fuel filter
– Step 6: Reboot the fuel pump
– Step 7: Take the old fuel filter to the waste disposal center
Is your diesel running rough, is the fuel flowing poorly, is your car having trouble starting? The diesel filter may be clogged. This component filters out fuel particles and water (from condensation in the tank of diesel vehicles). It is an essential part of diesel cars, especially the latest ones, which need particularly clean fuel at the level of the injectors (clogged injectors can be very expensive…). Changing your diesel filter is typically part of the car’s routine maintenance.
Here is how to change a diesel filter.
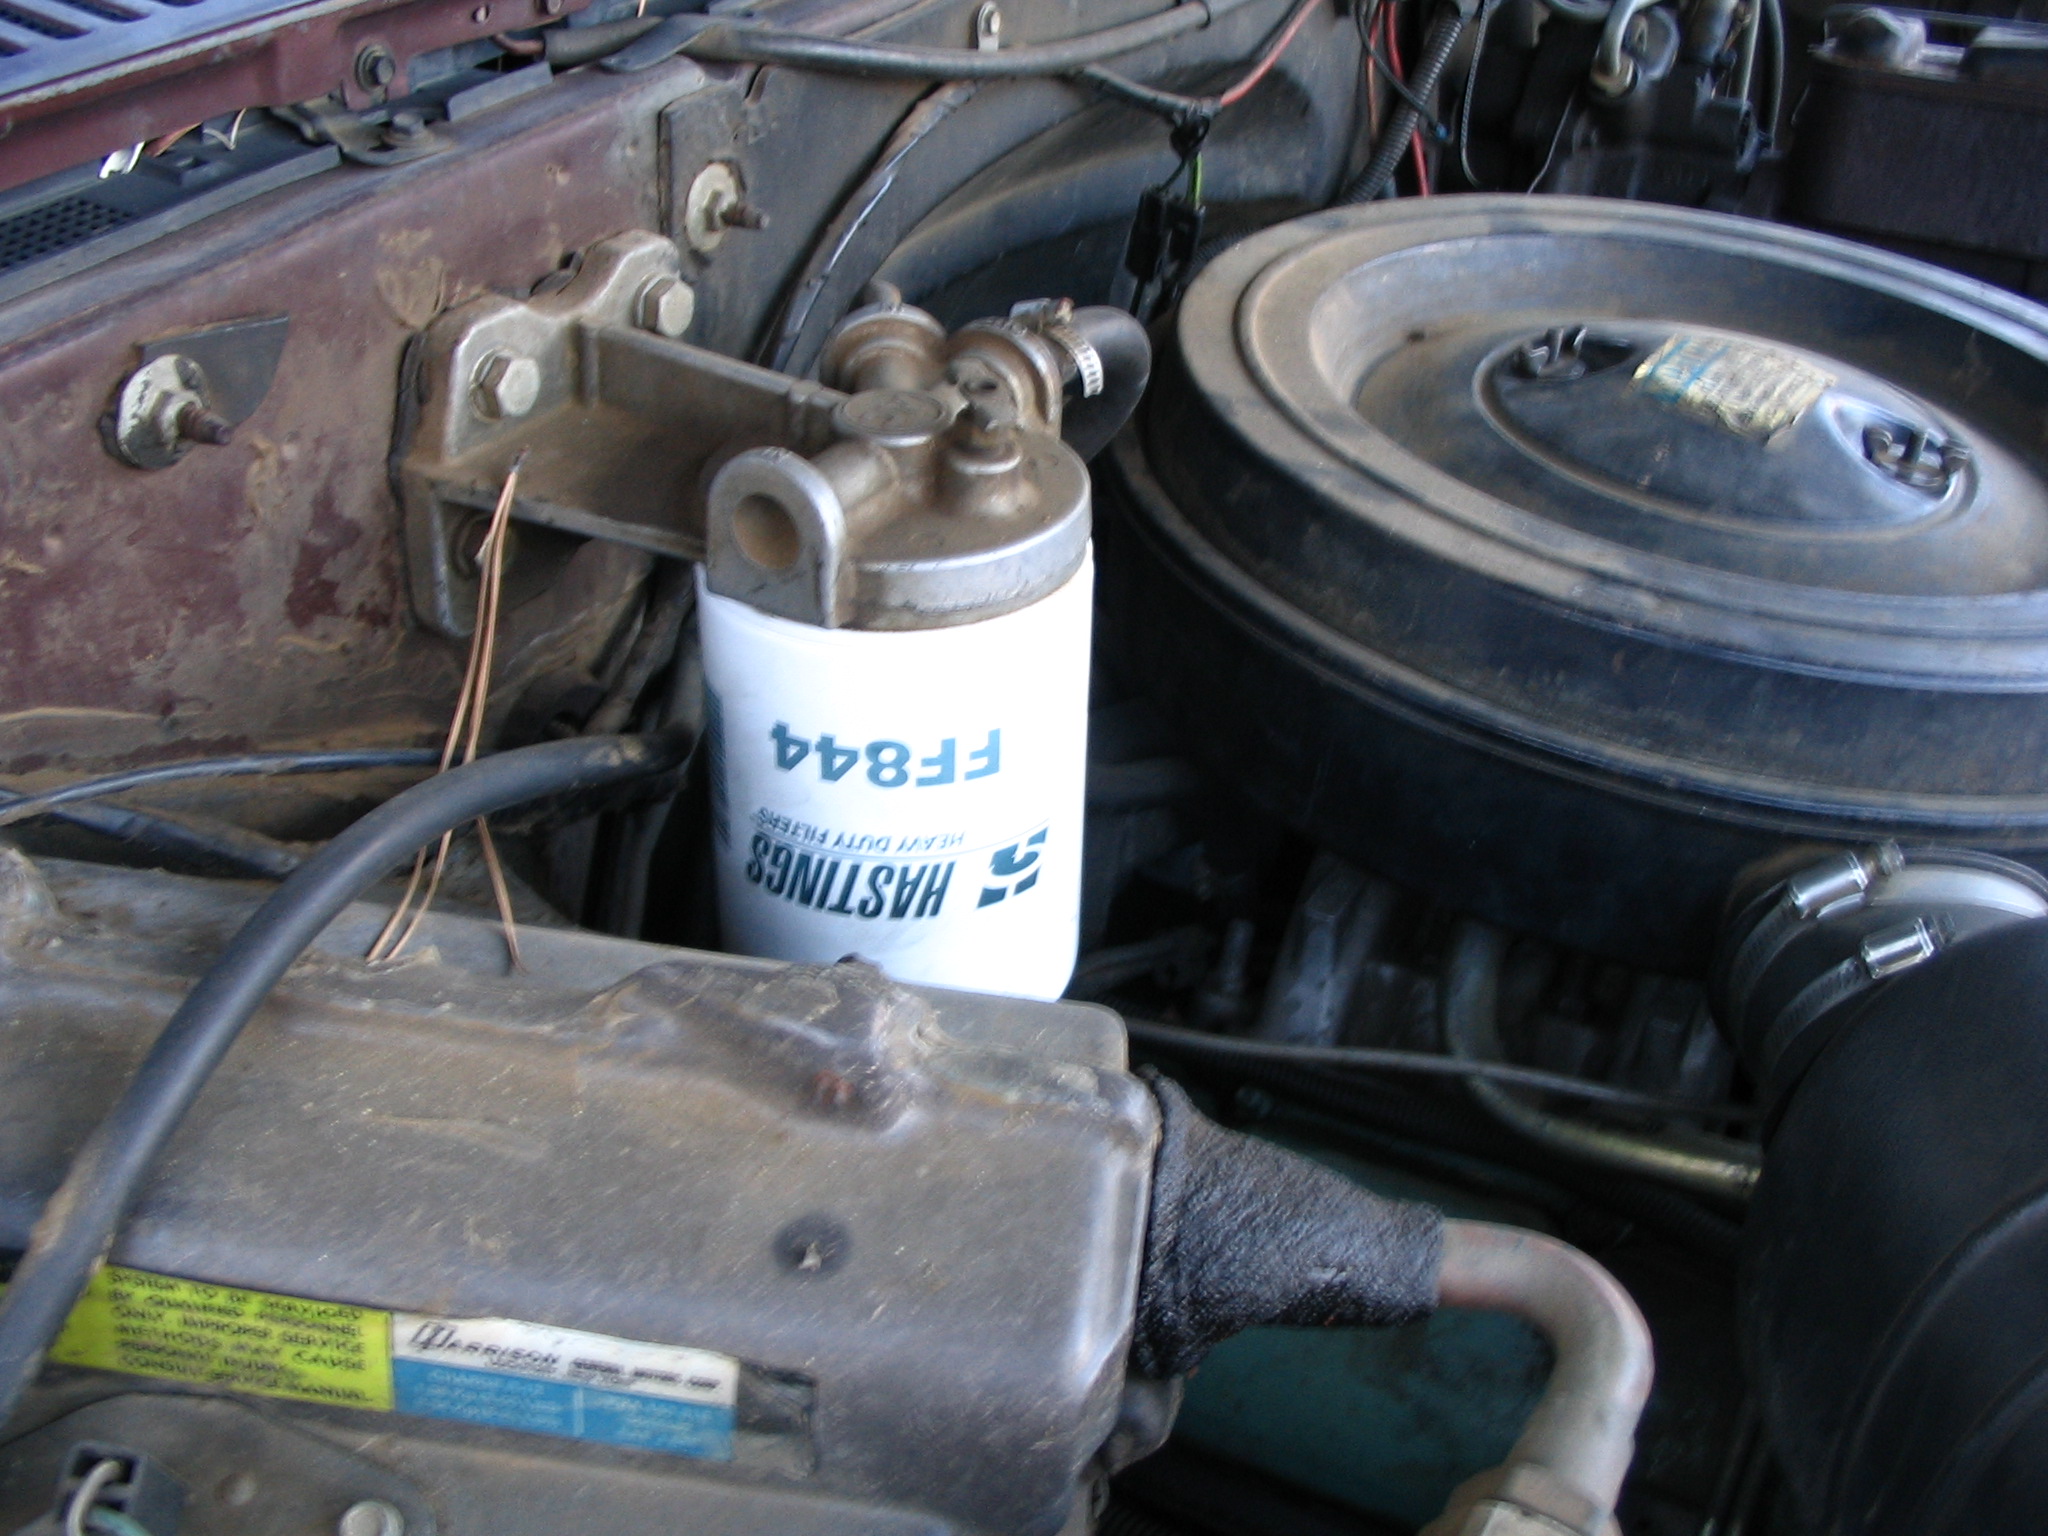
1. Clear the access to the diesel filter
The diesel filter can be more or less accessible depending on the vehicle. Sometimes it is on the top of the engine block, or you will have to remove several parts to access it. Refer to your vehicle’s Technical Service Manual for more information.
There are several and very different types of fuel filters:
– Some can be removed. They consist of a tank that contains diesel fuel and a removable filter.
– Other diesel filters cannot be dismantled. They are in the form of a closed room, with fuel inlets and outlets and electrical supplies (to power a diesel heater, for example).
2. Drain the fuel filter
Some fuel filters have a bleed screw.
– Place a container (or a cut plastic bottle) under the filter and install a large hose leading from the filter to the container.
– Open the bleed screw and allow the diesel fuel to drain through the drain plug.
Tip: If your filter does not have a drain plug, place a container underneath the car to catch the diesel that will run out when you remove the filter.
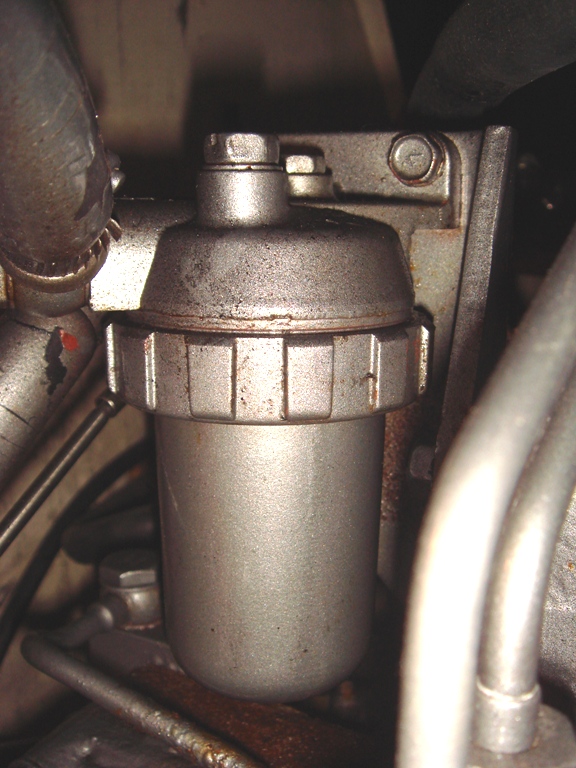
3. Disconnect the hoses from the fuel filter
Now disconnect the fuel filter by disconnecting the fuel inlet and outlet hoses. Pinch the hoses to prevent fuel from running all over the engine. Depending on the model of vehicle and filter, you will also have to disconnect the electrical terminals (to maintain the fuel temperature).
Important: Be especially careful not to get any particles into the fuel outlet hoses leading to the engine. If this happens, the injectors will get dirty, and changing injectors could be very expensive…
4. Change the fuel filter
After removing all connections, remove the filter from its housing. Compare it with the new filter to make sure it is the right one.
Depending on the type of filter, you will have to do different things:
– For one-piece filters, you may need to remove a part from the old filter. Compare the new one to the old one. If a part appears to be missing from the new filter, retrieve it from the old filter before discarding it.
– For multi-piece filters, you will need to clean the bowl with a lint-free cloth and fill it with clean diesel fuel.
New gaskets are included with the diesel filter you purchased. When refitting the new diesel filter, change the seals as you go along to ensure a better seal.
5. Reconnect the fuel filter
Once the filter is in place in its housing, proceed in the reverse order of disassembly and reconnect everything that you removed:
– electrical lugs;
– fuel hoses (the inlet and outlet hoses are generally not the same diameters: you will not be able to confuse them).
Finally, remove the diesel that has fallen on the engine with a brake cleaner or degreaser (fuel is corrosive to the hoses).
6. Re-prime the diesel pump
For the fuel to flow through the filter you have just changed, you must re-prime the diesel pump. You have two options:
– Re-prime the pump by hand with a bulb located on the fuel line a little higher up. Pump for about ten minutes until you feel resistance on the priming pump.
– Use the electric pump that some vehicles are equipped with: turn on the ignition until the pump starts. Start the engine several times. If the engine stalls, wait a few seconds and then try again until it starts correctly.
Tip: while restarting, unscrew the air bleed screw (elsewhere on the diesel circuit) by a quarter turn so that the air can escape and put a cloth underneath. Remember to close the bleeder screw afterward.
Important: Once again, check your Technical Service Manual for the procedure for your specific vehicle.
7. Take the old diesel filter to the waste disposal center
The diesel filter is a very polluting part. Dispose of it at a waste disposal center along with any fuel residue you may have collected, as well as any soiled rags.
Materials needed to change a diesel filter.
| – Rags |
| – Flat wrench |
| – Ratchet |
| – Degreaser |
| – Container |
| – Flat screwdriver |