
Cleaning the turbocharger can help avoid replacing it, thereby reducing costs. Replacement, including all parts and labor, can cost from $500 to $2,000.
The classic and often effective cleaning method is to remove the turbocharger and clean it. However, if you are not an expert in car mechanics, this operation should be entrusted to a professional. The financial cost is between $150 and $400, without any certainty of a positive result.
Another solution within reach of the do-it-yourselfer is to treat the turbo without dismantling it. This is not a 100% success guarantee either, but it is easy to implement at a reasonable cost.
In this post, we will take a look at:
– Role of the turbocharger
– Components of the turbocharger
– Symptoms of malfunction
– Comparison of different turbo cleaning techniques
Role of the turbocharger
In an engine known as “atmospheric”, in other words, without a turbocharger, the main weakness is the filling of the cylinders:
– under extreme conditions (high speed, full load), the air intake speed necessary for combustion has difficulty penetrating the engine; this phenomenon limits power.
One of the technological solutions is the turbocharger:
– its role is to compress this intake air by creating an air overpressure (approximately 1 bar) to “fill” the engine;
– This overpressure, combined with a proportional amount of fuel, allows the engine to continue to increase in power.
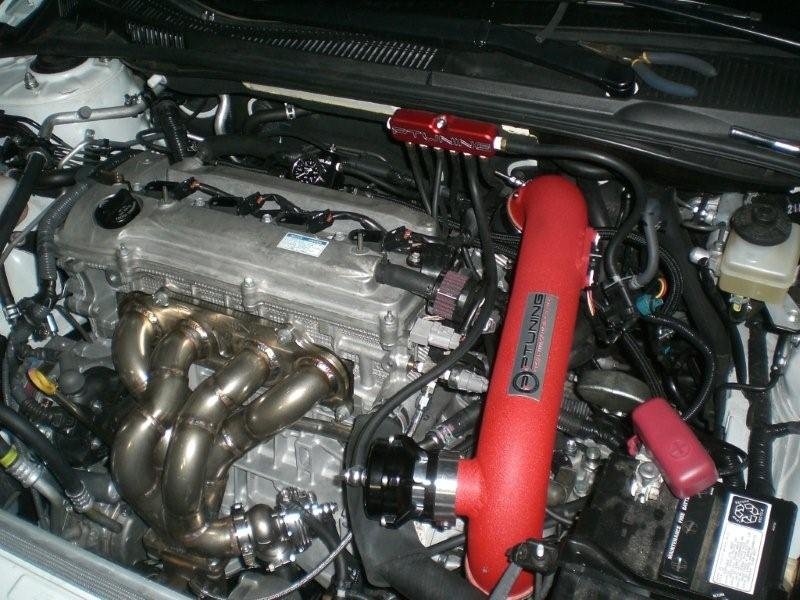
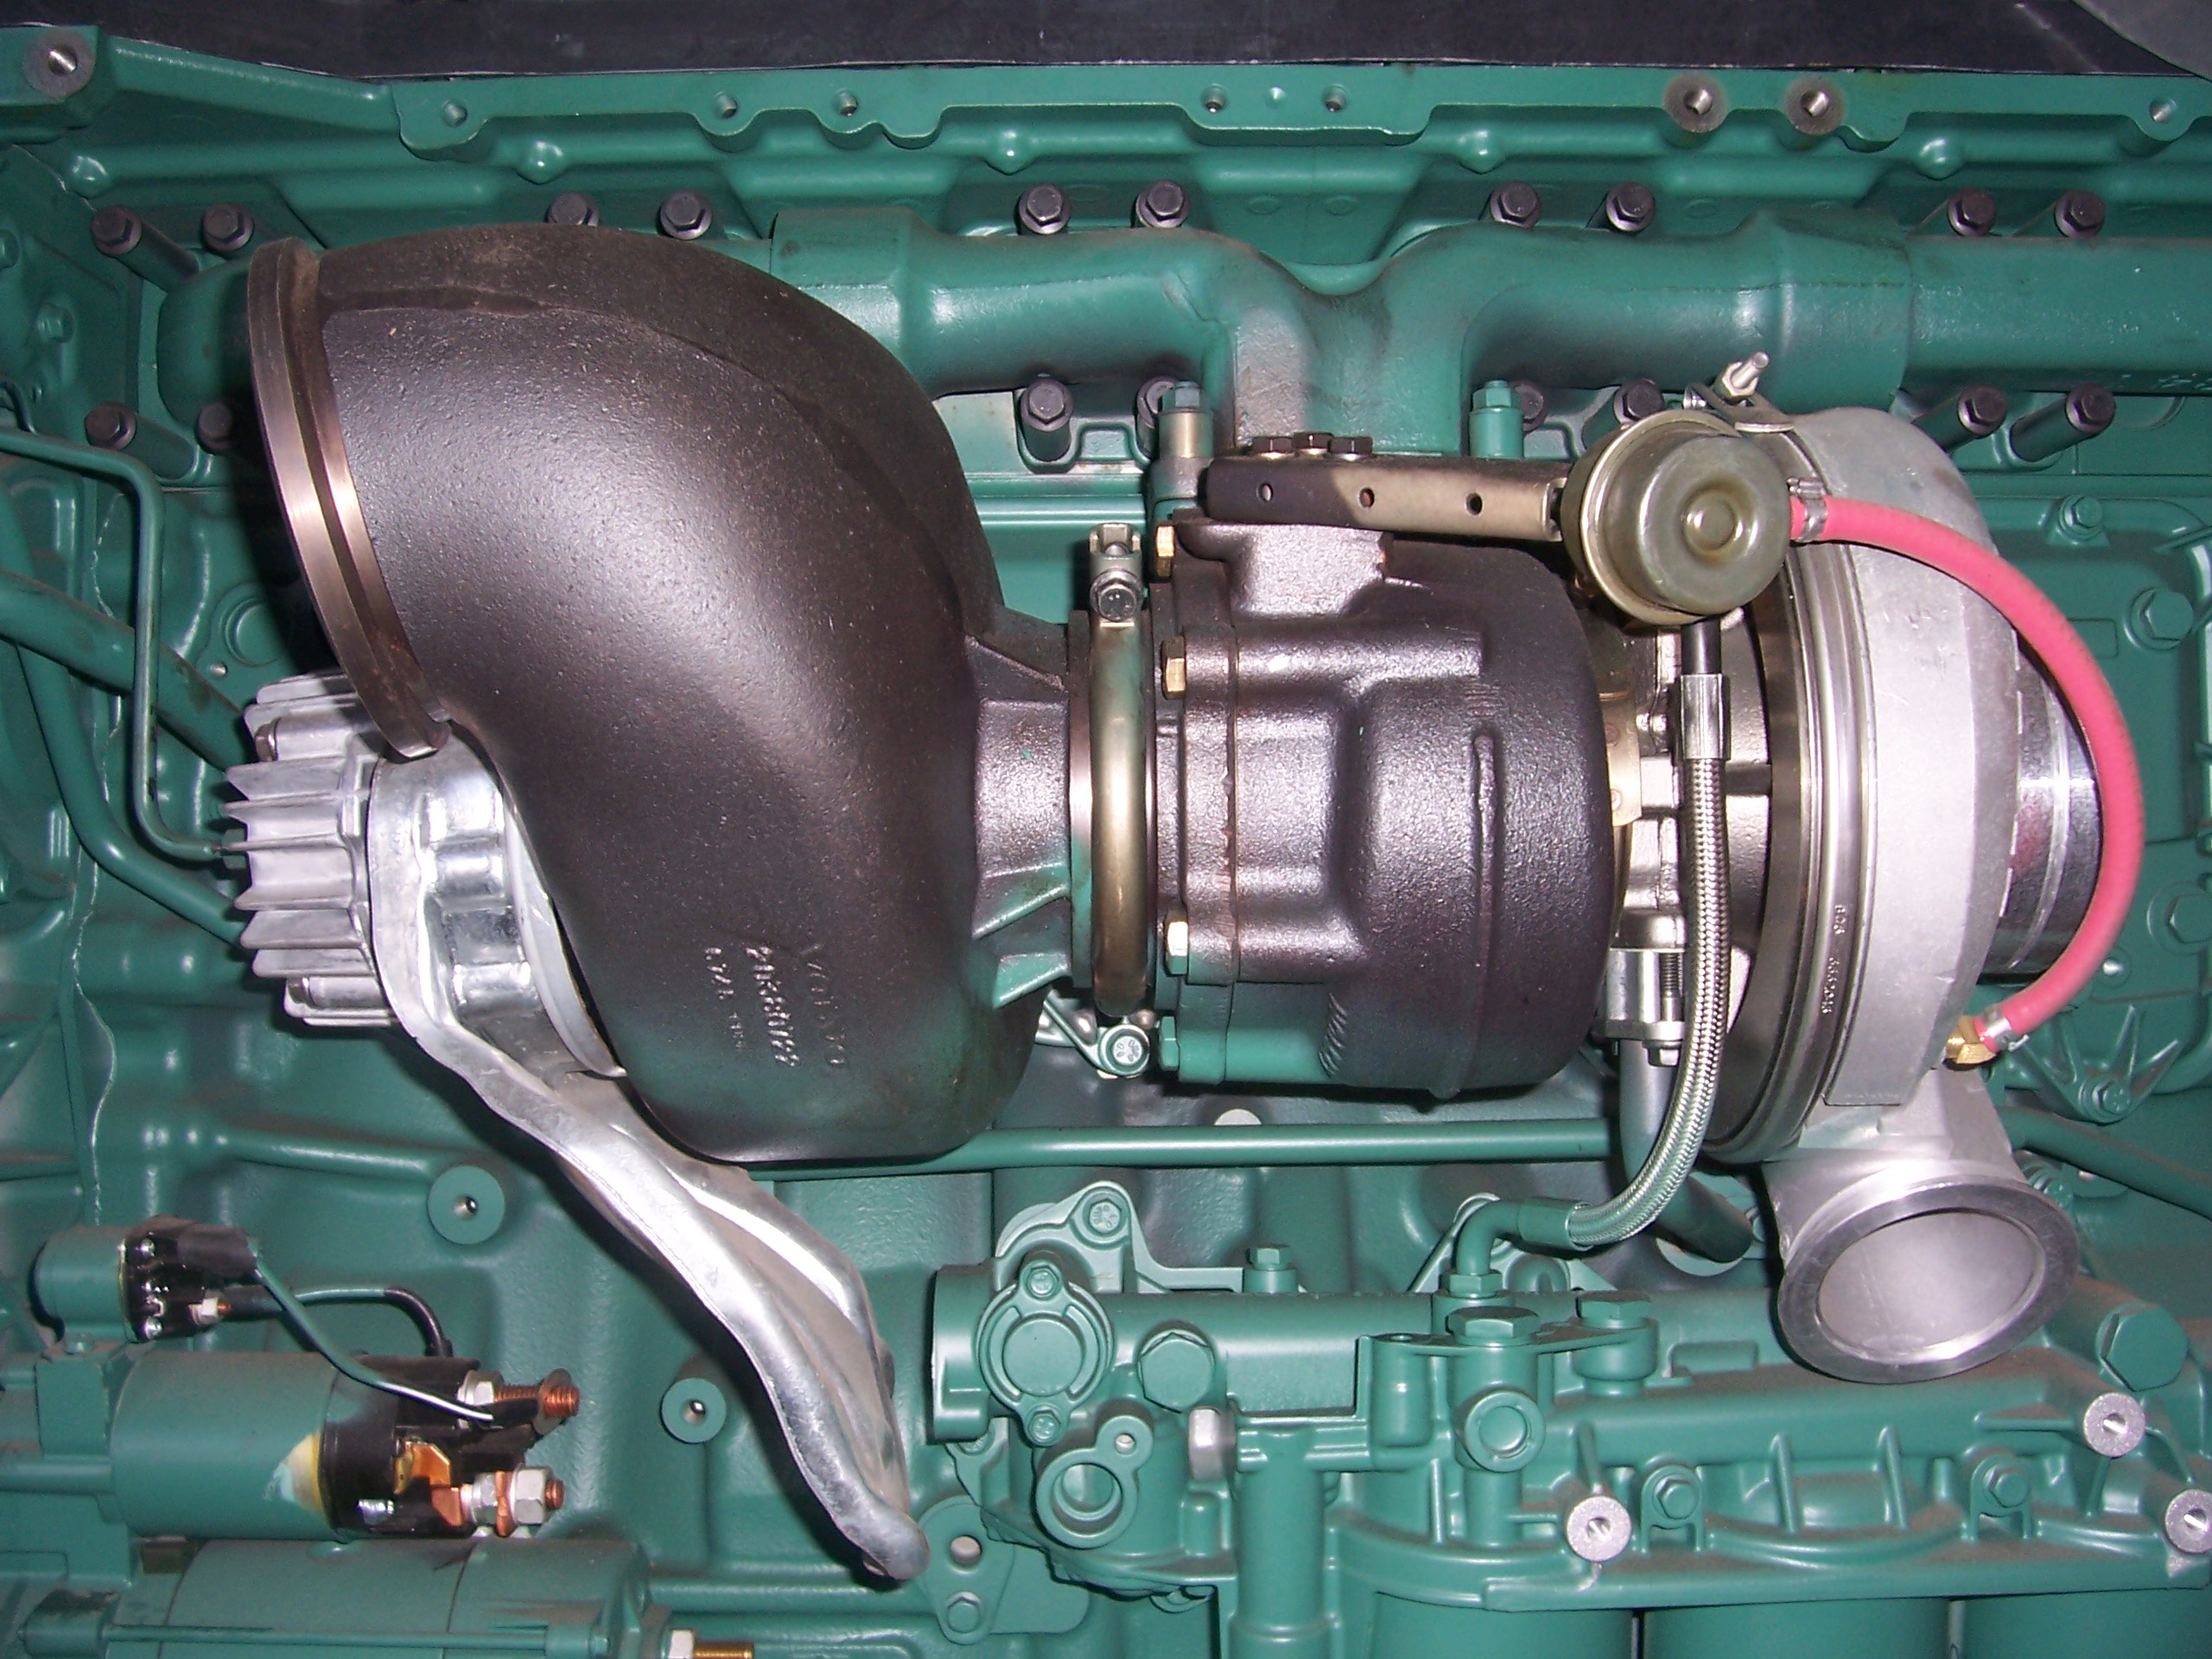
Components of the turbocharger
It is made up of two integral wheels:
– the turbine, placed in the exhaust gas duct, is driven in rotation by the exhaust gases;
– the compressor, placed in the intake duct and driven by the turbine, compresses the intake air.
The turbo also has a pressure regulation system. This is a safety system that prevents the engine from running away. There are two types :
– the relief valve for the classic turbo. Once a maximum pressure has been reached, the valve opens a pipe (the bypass) to divert the exhaust gases, which no longer act on the turbine;
– variable geometry” for the variable geometry turbo (VGT), the most common system today. This is a set of blades pivoting on an axis, which reveal the bypass to a greater or lesser extent. The advantage is a much more progressive regulation.
Symptoms of turbo malfunction
Depending on the symptoms identified, it is possible to target the malfunction and its consequences.
– There is a loss of power accompanied by blue smoke, excessive operating noise.
◦ It is the heart of the turbo that is affected:
- Excessive play of the turbine or compressor blades.
- Oil absorption by the turbo (which can lead to engine destruction).
◦ This involves the outright replacement of the turbocharger.
– There is limited power, black smoke, jerking, the engine diagnostic light comes on.
◦ This indicates a malfunction of the variable geometry control system.
◦ The cause is mostly turbo fouling due to engine combustion residue (related to short trips, economical driving, cold engine operation…).
◦ In this case, cleaning the system is often enough to remedy the problem.
Comparison of different turbo cleaning techniques
The proposed solution is a treatment without disassembly with a product injected into the intake. It gives a 40% success rate for a cost of $30 to $70.
Here are the comparative success rates (assuming an accurate diagnosis) and the prices of other cleaning techniques.
– Treatment without dismantling with a curative product in the tank, 20% success rate, for a cost of $30 to $70.
– Treatment with the disassembly of the turbo, 80% success rate, for a cost of $100 to $200 (plus 1 to 6 hours of labor with a professional).
– Treatment by injection station by chemical principle or pyrolysis (carried out only by a professional), 70% success rate, costs $70 to $100 plus labor.
This post will now continue in part 2 to cover the 5 steps on how to clean your turbo:
– Step 1: Prepare for the turbo cleaning operation
– Step 2: Access the intake system
– Step 3: Perform the system treatment
– Step 4: Reinstall the hose
– Step 5: Schedule a preventive treatment
Remember to share and leave your comments below.
1 comment
[…] post is a continuation of Part 1 on How to Clean Your Turbo. Lately, we have gone […]