
This post is a continuation of Part 1 on How to Clean Your Turbo. Lately, we have gone through:
– Role of the turbocharger
– Components of the turbocharger
– Symptoms of malfunction
– Comparison of different turbo cleaning techniques
We will now cover the 5 steps on how to clean your turbo:
– Step 1: Prepare for the turbo cleaning operation
– Step 2: Access the intake system
– Step 3: Perform the system treatment
– Step 4: Reinstall the hose
– Step 5: Schedule a preventive treatment
Step 1: Prepare the turbo cleaning operation.
Start by equipping and preparing the car before you start cleaning.
Buy the cleaning product and gather the necessary tools
– Buy a suitable cleaning product: choose a product for curative use for the operation, and plan a preventive treatment if the problem is recurrent.
Good to know: a wide choice is proposed on the Internet. Prices vary from $30 to $70. If possible, prefer products for professional use, which are much more effective.
Ensure you have the tools you need to remove clamps (screwdriver, click clamp pliers, etc.).
Follow the safety instructions.
Equip yourself with the necessary protective equipment to use the cleaning product.
– Put on coveralls or work clothes.
Good to know: in addition to sparing your clothes, this is the assurance that the motor will not catch you because of a piece of clothing, a scarf, or other.
– Since the work is done with the engine running, tie your hair back if necessary and remove any jewelry or other accessories that could get caught in the engine’s pulleys and rotating belts.
– Put on gloves and protective glasses.
Prepare the car
– Place the vehicle in a ventilated area.
– Run the engine at operating temperature.
– Protect the bodywork.
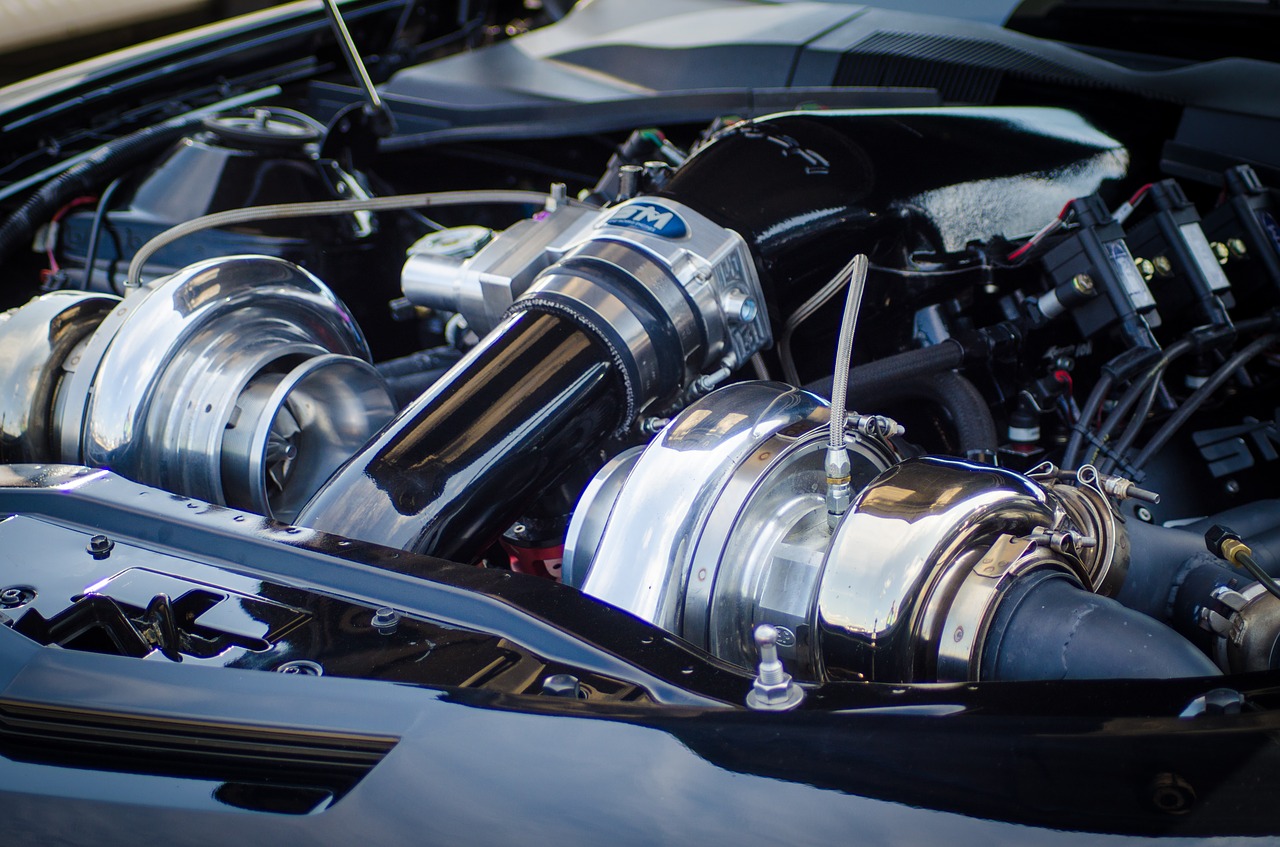
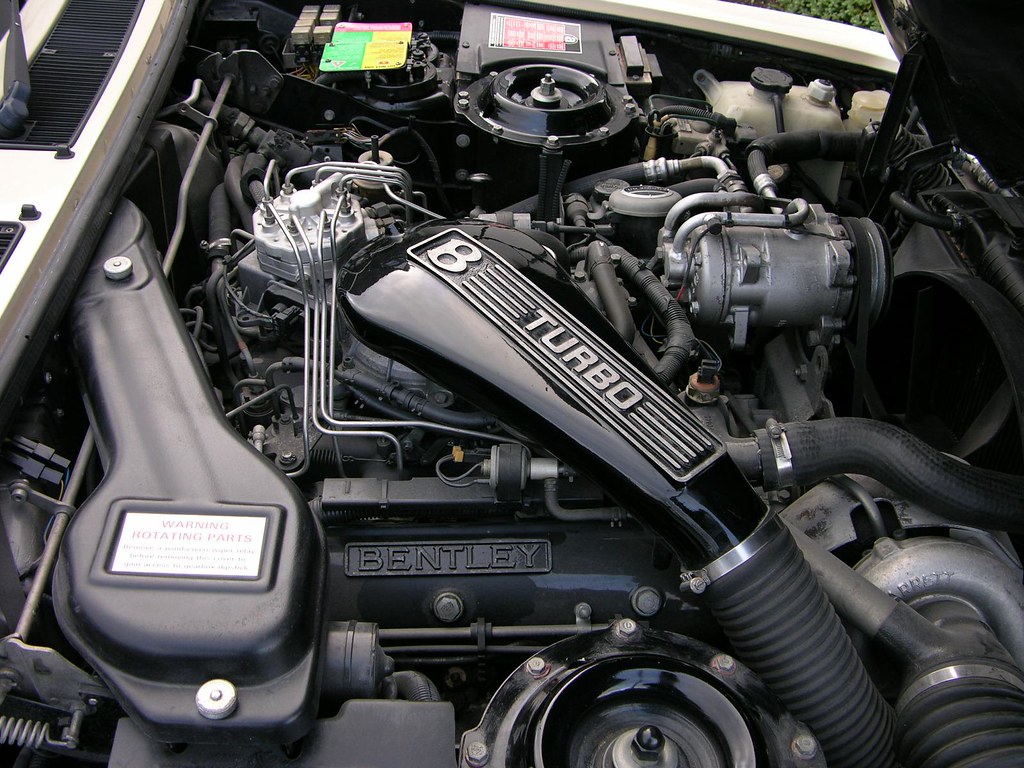
Step 2: Access the intake system
Locate the product injection point
The intake system consists of several components:
– the air filter housing and filter element;
– a pipe leading to the flow meter (whose primary functions are to measure the airflow and to control the operation of the EGR valve);
– a hose supplying the compressor;
– an airline coming from the turbo and passing through a temperature exchanger;
– the intake manifold.
The injection point of the product should ideally be located between the air filter and the flow meter.
Good to know: opening the circuit after the flow meter would cause a fault in the engine electronics.
Open the circuit at the injection point.
– Loosen the hose clamp at the location.
– Unscrew the hose.
– Engage the spray tube on the intake side.
Important: Engine suction, especially for diesel, is essential. Do not place metal objects, rags, papers, etc., near the fuel hose.
Step 3: Carry out the system treatment.
The operation consists of injecting the cleaning product, with the engine running, into the intake system. Thus, the product circulates in the intake circuit, treating the compressor fins, combustion chambers and finally acting on the turbo’s variable geometry (blades).
Good to know: there are no particular difficulties, but please respect the procedure carefully. The passage through the combustion system requires an adequate dosage of the product; otherwise, the engine will be subjected to abnormal stresses (running noises, over-rich combustion, high stresses on the pistons, connecting rods, and bearings).
– Accelerate the engine to 2,000 rpm.
– Simultaneously inject the product in short pulses into the intake (1 to 3 seconds).
Good to know: have a friend help you by pressing the pedal while you inject the product.
Be careful not to overfill the engine with cleaner: stop the injection before the engine chokes, at the appearance of abnormal combustion noises (loud banging, detonations…).
– If the turbocharger is accessible, between each injection, stop the engine and operate the control manually to unblock the control system.
Good to know: the control is an articulated rod connected to the turbo and activated by a vacuum capsule called “wastegate”.
Repeat the operation until you run out of cleaner.
Step 4: Refit the hose
– Check the engine is running.
– After treatment, let the engine idle.
– Then check for normal engine operation.
– Stop the engine.
– Refit the hose.
– Replace the fuel hose and tighten the hose clamp.
– Remove the guards and close the hood.
– Test drive the engine: there should be no abnormal running noises, no misfires, no smoke, and the initial faults should be gone.
Important: If problems persist, removing the turbocharger for a thorough cleaning or taking the car to a professional will be necessary.
Step 5: Plan a preventive treatment
If the operation was successful, it is likely that the malfunction, often due to a type of driving or unfavorable conditions (cold running, short trips, etc.), will recur.
It is therefore advisable to carry out a periodic treatment with a preventive product.
– Place the product in the tank filled with at least 20 liters of fuel.
– Drive under normal conditions.
Good to know: for more efficiency, administer the preventive treatment the day before a long trip (departure on vacation, highway trip…).
– Repeat the operation every 5 to 15,000 km.
Equipment needed to clean a turbo.
| Work suit | $10 |
| Thin protective gloves | $1 |
| Safety glasses | $6 approx. |
| Phillips screwdriver | Starting at $3 |
1 comment
[…] post will now continue in part 2 to cover the 5 steps on how to clean your […]