
Bearings are found everywhere in your car and facilitate certain parts’ movement. Their wear and tear can be identified by bearing noises, and this post will help you identify the most common ones.
Rolling noise: causes and risks
Bearing noise is caused by the wear of the bearing. Bearings are found on many moving parts that must be rotated at high speeds on cars. The wheel hubs, of course, and the transmission parts, such as the water pump or the alternator, with easily identifiable wear noises.
Wheel bearing noise is very loud and can easily be detected. It causes a dull rumbling sound that increases with more speed and makes transmission-bearing noises. The latter also causes very noticeable vibrations in the vehicle.
If a bearing breaks, the parts it helps to move become blocked, and this can lead to serious accidents, for example by:
causing a wheel or transmission to suddenly lock up or even lose a wheel and hub;
causing the loss of a drive shaft.
Fortunately, noise and vibration warn you that it’s time to change them or perform maintenance.
Bearing noise: prevention and maintenance
Identifying the causes
Here are some things you can do to identify the most common types of rolling noise in a car:
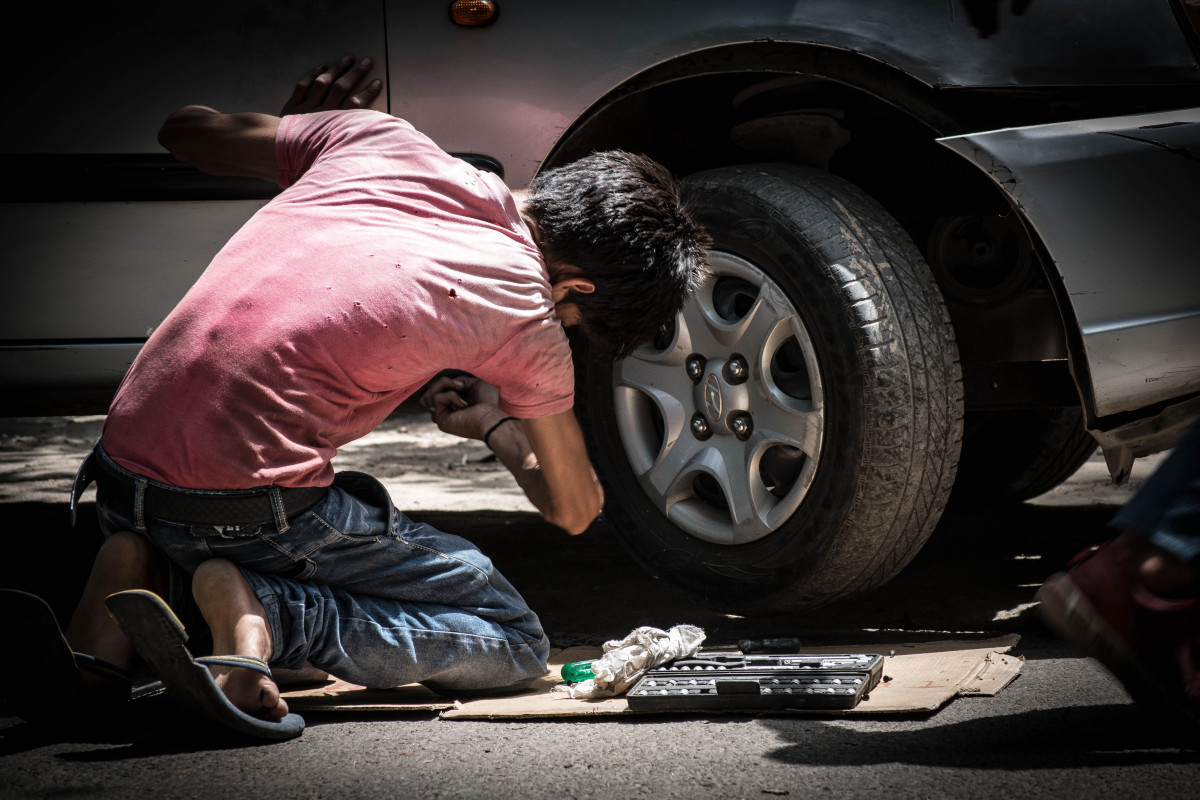
Wheel bearings: jack up your car to get the wheel off the ground. Then grasp the tire with your hands in a position corresponding to 12:00 p.m. and pull the top of the wheel toward you. If the wheel moves, the bearing at least needs to be tightened and greased at best and changed at worst.
Water pump bearing: same procedure as for the wheels. With the engine stopped, hold the water pump pulley the same way as a wheel, and pull it towards you to ensure it doesn’t move.
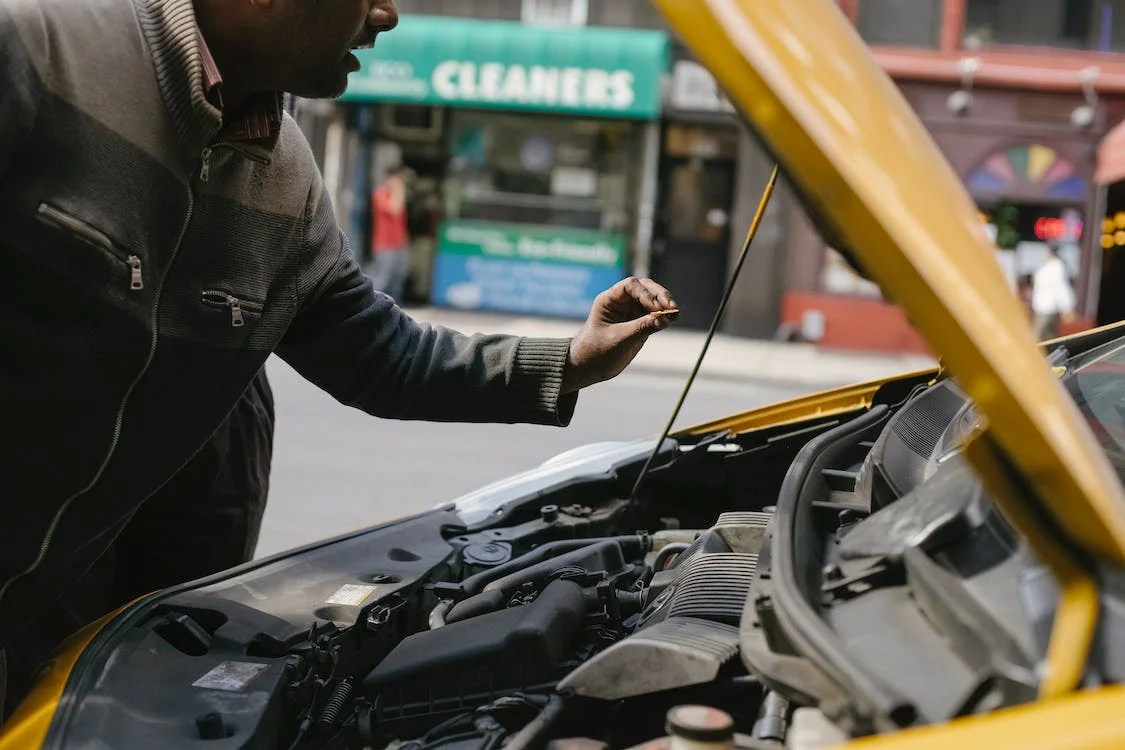
Alternator Bearing: When worn, the alternator becomes so noisy that the noise it makes will draw your attention when the hood is up.
Maintenance Tips
You can tighten the front wheel bearings on some older, even very old, cars driven by the rear wheels. If you drive at least 15,000 km per year, this annual operation will help the bearings last, knowing their maximum life is about 100,000 km.
Once the play is detected, you must remove the grease cage located on the central hub. To do this, here are the main steps:
Insert the head of a flathead screwdriver between the grease cage and the hub, then tap the grease cage out with the end of the handle with a hammer or mallet until the cage falls out. A complete lack of grease indicates that the bearing may be low on grease.
Next, pull out the pin holding the bearing lock nut.
Loosen the nut and carefully remove the bearing from its cage. You will examine the bearing condition by spinning it on its own and looking carefully for scratch marks on the bearing cages and balls, knowing that the balls should be moving. If they are almost blocked, replace the bearing and cages. The cages should be smooth.
Grease the cage housing with preferably high-temperature grease and carefully place the cage and then the bearing.
Place the ratchet socket you used to loosen the bearing on the bearing and tap the socket with your hammer or mallet to center the bearing in its cage.
Then screw on the tightening nut. Tighten with the ratchet wrench until you reach the stop without forcing. The hub will be locked and will not be able to turn.
Then loosen the nut a quarter turn to ensure the hub turns freely. Install a new pin on the clamping nut, remembering to spread the two legs of the pin and fold them over the nut.
Fill the grease cage with grease and replace it with a hammer or mallet.
Very important: if you have any doubts about the bearing condition, you must replace the bearings and their cages. Some bearings require a press to remove them from the hub.
Bearing noise: repairs
Except for the replacement of front wheel bearings on some cars, the replacement of transmission bearings requires specific know-how and tools: an arm elevator to lift your vehicle while leaving its wheels and transmission components accessible, extractors to remove the transmission half-shaft, and presses to extract and replace the bearings.
For gearboxes and differentials, replacing bearings requires uncoupling them from the engine and transmission components and opening them on a workbench.
The adjustment of clearances on transmission components should be made by a professional because of the very precise timings and tolerances established by the car manufacturers.
Good to know: parts such as alternators and water pumps are often directly replaced by new ones. That said, alternators, even dynamos, and water pumps on older cars that are not manufactured or reproduced can have their bearings replaced if they can be removed.