
Brake discs are one of the elements that allow a car to stop. As they come into contact with the brake pads, they also wear out and must be changed regularly. Ideally, they should be checked every 10,000 kilometres to ensure that this safety device is working properly.
Here’s when and how to change your car’s brake discs.
1. Check the need to change your car brake discs
Car brake discs should be replaced if they are worn.
Several signs can alert you:
If you feel vibrations in your steering wheel during the braking phase, your discs may be warped. Overheating may have caused this after prolonged use on a mountain road, for example, with an excessive load.
Your brake pads may be worn if you hear a whist sound when braking.
To find out if your brake discs are worn out:
Remove the wheel.
Measure the disc’s thickness with a disc calliper or palmer. The presence of an edge on the disc’s contour requires using one of these two tools to make the correct measurement.
Each disc has a maximum and a minimum rib, depending on the car model. Check that the thickness of your discs is within this range; if not, your brake discs must be changed. It is written in the car’s service manual.
Be careful: if the lining is completely gone, the pad’s metal will come into contact with the disc, scratching it and thus damaging it. Discs that are too worn will crack and may break.
2. Prepare your work area
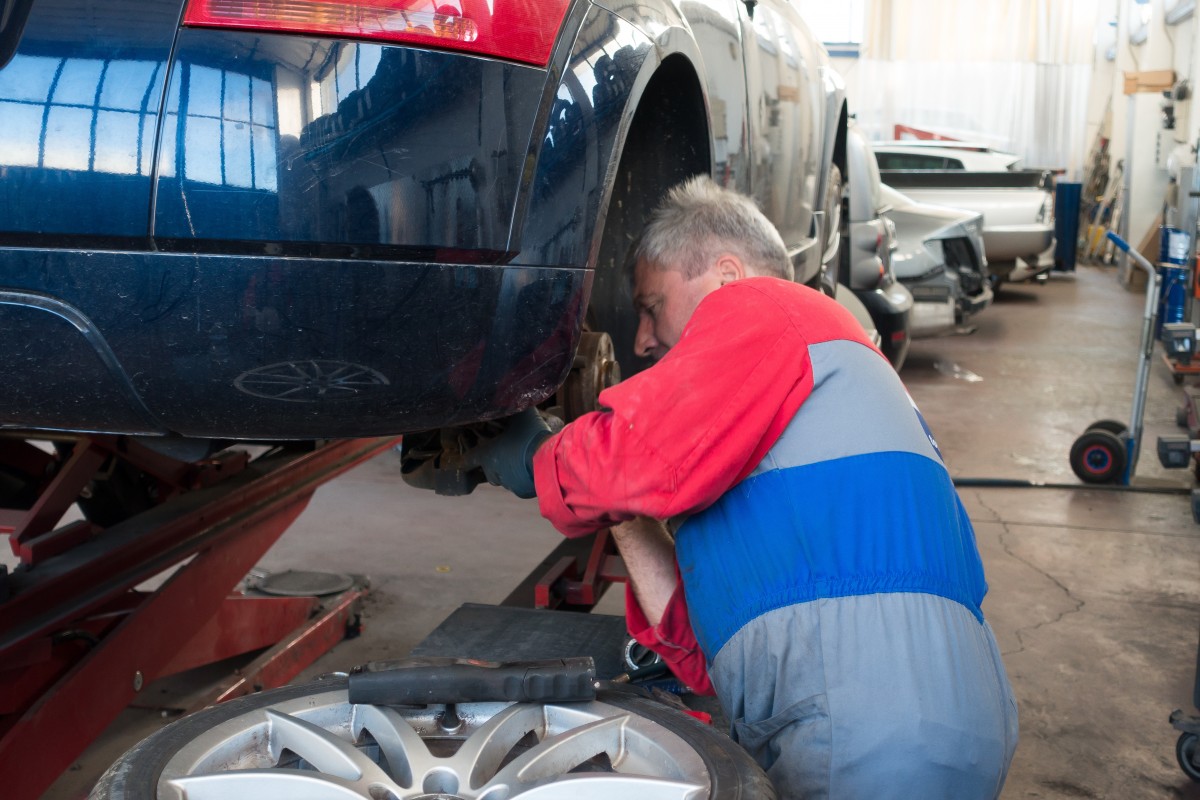
It is essential to know that when installing new brake discs, it is imperative to install new pads.
Make sure you have the right discs, pads, equipment, and a flat, well-lit area. Ideally, it should also be covered, so you don’t get caught in the rain.
Loosen the wheel nuts a few turns.
Use the jack to lift the car.
Place the car (front or rear) on stanchions.
Remove the wheels from the same axle (front or rear).
Locate if there is an electrical wire connecting to the calliper. This wire is connected to the wear indicator light on your dashboard. Disconnect the wire and check its path to put it back in the same way when reassembling.
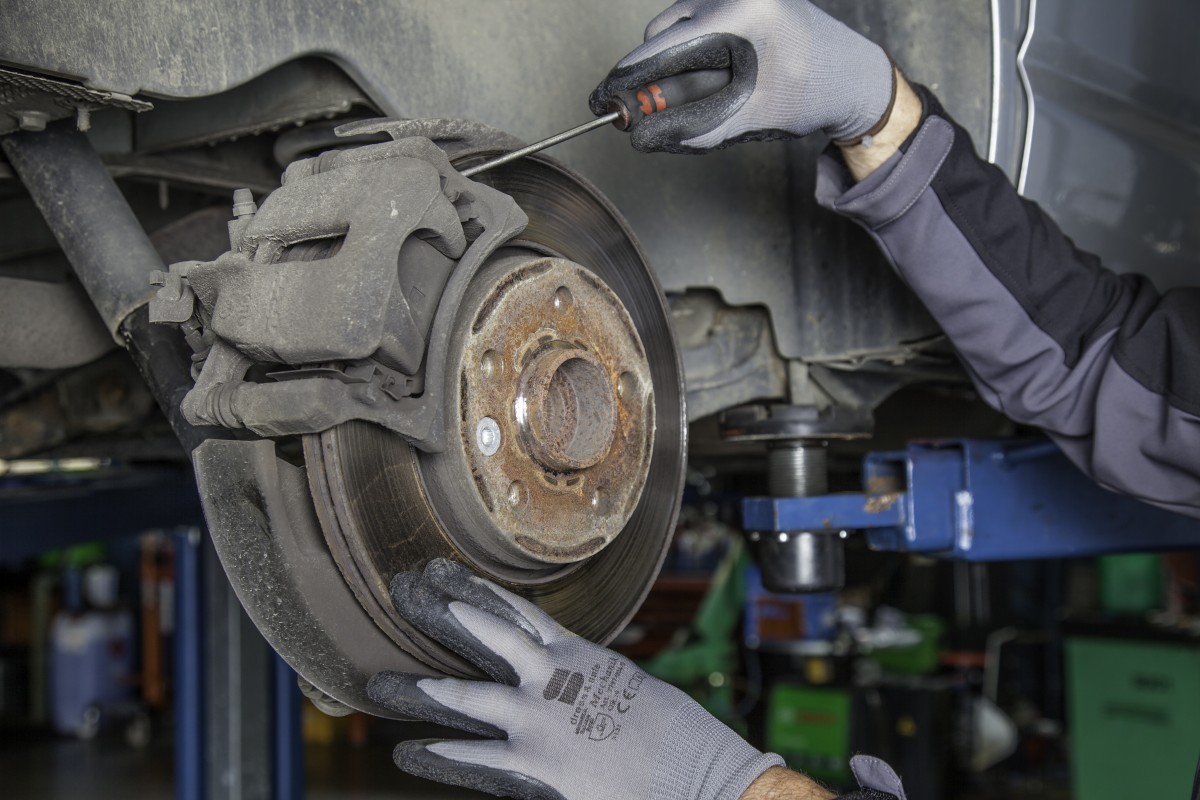
3. Remove the callipers
Remove the dust cover.
Remove the calliper with the Allen key.
Remove the brake pads.
Whether the calliper is fixed or floating, it will remain connected to the brake hose, which should not be removed. However, it is best to tie the calliper with wire or string to an attachment point to prevent the hose from remaining under tension.
4. Remove the worn brake discs
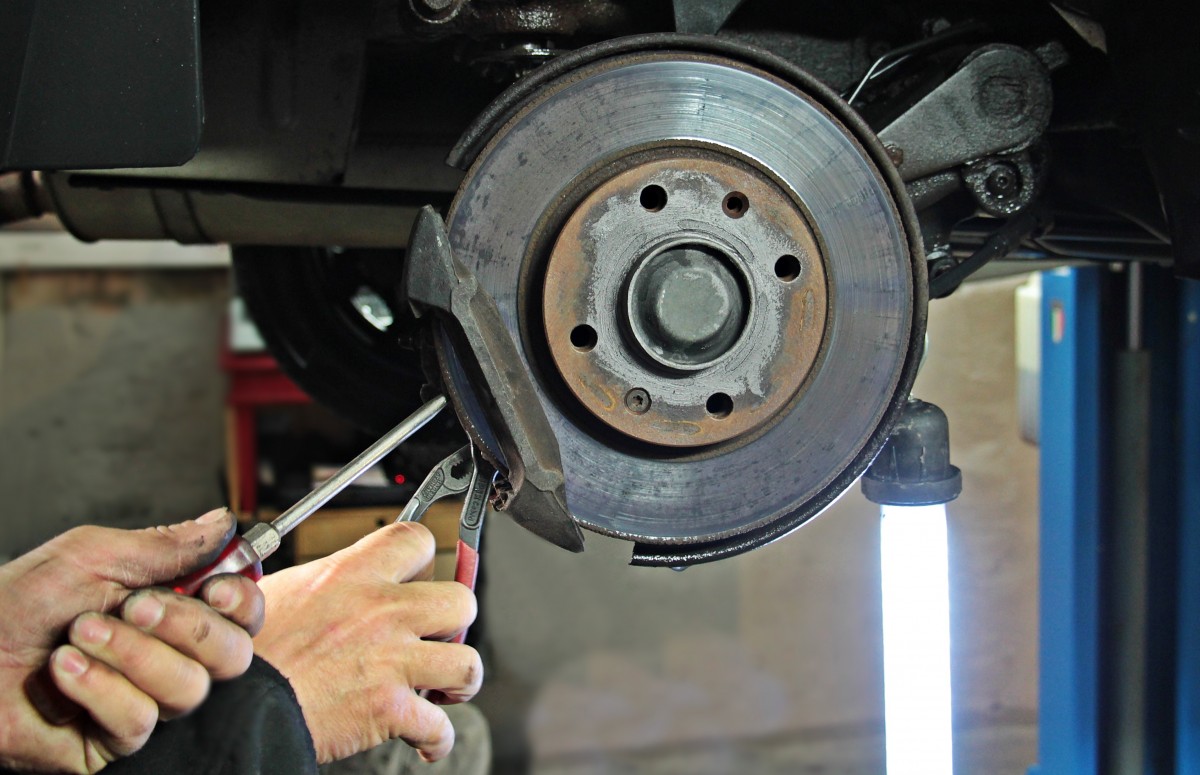
Remove the guide screw(s) with the Torx wrench.
Remove the disc from the hub.
5. Clean the components
Clean the hub with a wire brush.
Compare the old and new discs to ensure the diameters are the same.
Degrease the new disc with brake cleaner to remove kerosene.
6. Install the new brake discs
Position the new discs using the old screws or the new ones supplied with the new disc.
You may want to put some threadlocker on the screws.
7. Install the new brake pads
Push the pistons back in with a piston presser (or a flat screwdriver by leaning on the calliper and pushing the old pads out). In the case of rear callipers, and if they are connected to the parking brake, use a piston pusher to push back the piston.
In any case, check the direction of the pad assembly during disassembly so that it will facilitate the reassembly.
In the case of a fixed calliper: remove the pin and the springs holding the pads. Then remove the pads.
For a floating calliper: unscrew the lower part of the calliper held by two screws, then tilt this part upwards to release the pads.
Place the new pads in their housing.
Screw in the pins, screws and springs according to the calliper.
Reassemble the calliper.
Tip: Lightly rub the pads with fine sandpaper to chamfer them.
8. Re-pressurize the system
Depress the brake pedal several times, so the fluid presses on the pistons, causing the pads to move closer to the disc.
Check the brake fluid level in the reservoir under the engine hood. Top up with the appropriate fluid if necessary.
Reassemble the wheels and remove the wheel spindles.
Do not brake suddenly for the first few kilometres so as not to “freeze” the pads and give them time to break in (a few hundred kilometres). However, if you must make an emergency stop, don’t hesitate to brake!
Equipment needed to change car brake discs
Flat wrench
Jack
Threaded brake
Brake fluid
Hope this post has provided you with the information you were looking for. The steps above are meant for a good mechanic. Are they too complicated for you? Please do not hesitate to contact Signature Auto Care for reliable auto repairs. Remember to jot down a few words in the comments below.