
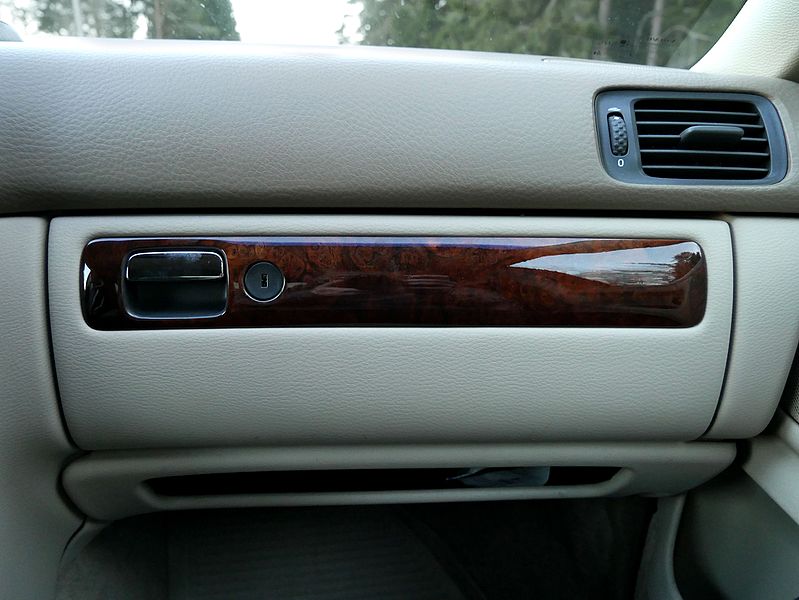
Locating your AC filter
When you switch on your car AC, the cabin air filter comes into action. Do not mistake AC filter to your engine air filter which is found under the hood. The AC filter can either be found behind the glove box or below it, depending on the car model. In some models, it is found at the top under your hood – within the space in the black rubber compartment between the windshield and the hood.
It is recommended to change your AC filter every 15,000 to 30,000 miles for better air quality, but that would also depend on your environment. You can easily change the AC filter yourself if you have the right tools and follow these four simple steps.
Tools you will need
Among the tools and supplies that you will need are the replacement filter, small screwdriver, small socket set, nut driver and a pair of protective gloves and eyewear.
Step 1
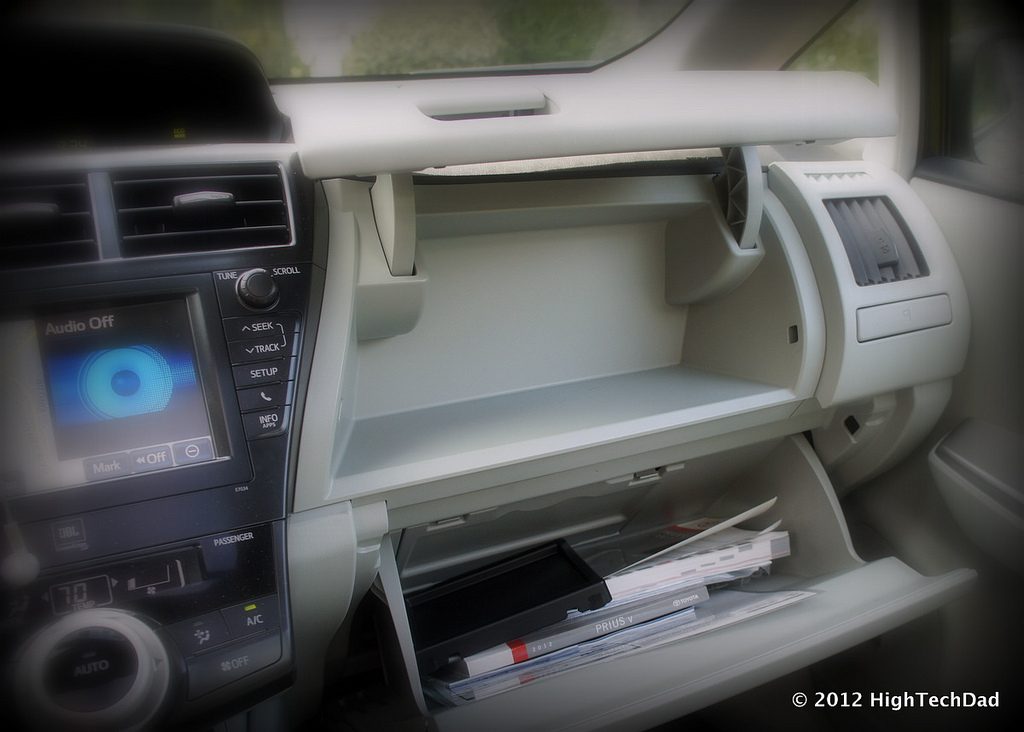
Remove the lower cover
Open the passenger door to get more space to work. Then, unscrew the lower cover below the glove box to remove the cover. Be careful not to loose the screws as it can be difficult to find them if they fall on the floor.
Step 2
Remove the cabin filter
The filter is normally housed in a small vertical or horizontal box. The method of removal will be a little different for each manufacturer, but the process is the same. Once you remove the box, it’s really easy to slide the old filter out. Note that an old air filter will be dirty and dusty. To avoid having to clean up later, put some newspaper on the mat to catch the dirt and dust that will come out.
Step 3
Install the new filter
It is important to keep the new filter clean without contaminating it with grease or any dirt during its replacement as you will be breathing and smelling the air that passes through it during your drive. Take care not to apply too much force when putting it into place as the heater core and air conditioner evaporator is found nearby and can get damaged easily.
Step 4
Reinstall the cover
Afterward, you will reinstall the cover with its screws by softly putting it in place. You should easily be able to align the screw holes and insert the mounting screws. These screws are made from plastic and do not need to be very tight. Make sure to check that no tubes or wires have been caught in the bracket.
Now that you have finished changing your AC filter, switch it on as usual. If you’ve properly followed the steps above, you should notice that the air inside your car is fresher and cleaner. Why wait, check your AC filter now!
1 comment
[…] 4 Easy Steps to Change Your Car AC Air Filter; […]