Heat-shrinking film helps window tint conform to curved automotive glass without wrinkles or trapped air. Defroster lines and dot matrix borders create additional challenges because they change the glass surface or interrupt contact. Understanding these details explains why skilled preparation and controlled heat matter.
Heat-shrinking film on curved glass
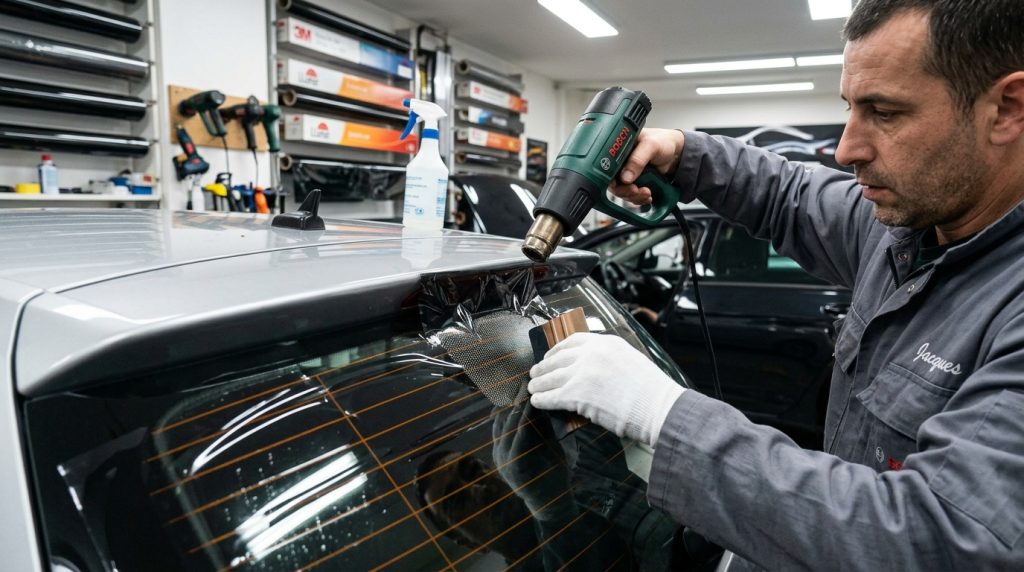
Automotive window tint often arrives as a flat sheet, while rear windows curve in several directions. Film thickness and adhesive design influence how easily installers shape and position each sheet. Installers use controlled heat to shrink the film until it follows the glass shape. This process reduces fingers, creases, and tension that could otherwise complicate installation.
The installer typically places the film on the exterior glass, shapes it with a squeegee, and applies heat carefully. The film’s polyester layer contracts in response to heat, allowing the sheet to settle against the window’s contours. Excessive heat can distort, crease, or damage the film, so technique matters more than speed.
Defroster lines and heat control
Rear-window defroster lines sit on the inside surface of the glass, but their position still matters during tint installation. Installers usually shrink the film on the outside, where the lines do not directly obstruct contact. However, the lines help identify areas that require careful handling during interior application.
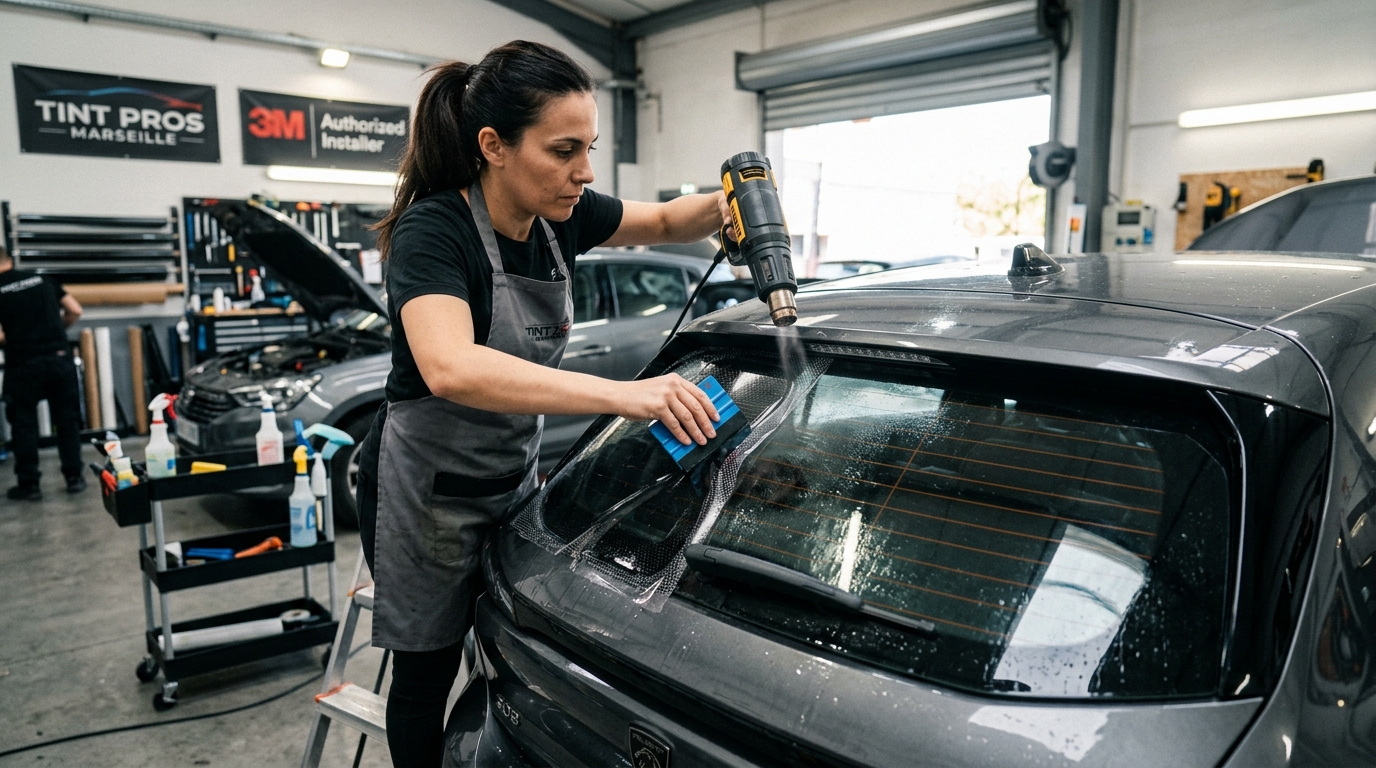
Technicians must avoid damaging the conductive grid when cleaning, trimming, or smoothing the film inside. Aggressive scraping or rough tools can break a line and reduce defroster performance. Careful cleaning and controlled squeegee pressure help protect the grid while removing moisture and air. Careful handling preserves both appearance and electrical function.
Dot matrix edges and adhesion
Dot matrix borders consist of small ceramic dots around parts of many windows. These raised dots create a textured surface, unlike the smoother glass beside them. Tint may not sit flush across this texture, leaving a pale or dotted-looking border after installation.
Heat shrinking shapes the film, but it cannot eliminate the height difference between glass and ceramic dots. Adhesive may contact the raised dots unevenly, which can create a visible halo or reduced adhesion. This effect varies with dot height, adhesive formulation, film thickness, and window design.
Managing the dotted border
Experienced installers assess the border before choosing a fitting method. They may allow extra settling time, use careful pressure, or trim the film according to the vehicle’s glass shape. Some borders retain a light appearance even after careful work, because the dots prevent complete contact.
Owners should understand that a small, even halo can result from the glass design rather than poor workmanship. However, large bubbles, loose edges, creases, or expanding gaps may indicate installation problems. A qualified tint specialist can explain what finish is realistic for a specific vehicle.
Installation and aftercare
Good results begin with clean glass, correct film placement, and a workspace with controlled conditions. Installers should follow the film manufacturer’s heat limits and avoid concentrating a heat gun in one spot. They also need suitable tools to prevent scratches and protect the defroster grid.
After installation, moisture trapped beneath the film may create temporary haze or small water pockets. These usually diminish as the adhesive dries, although the timeline depends on weather, film type, and glass exposure. Drivers should follow the installer’s instructions before lowering windows or cleaning the tinted surface.
Conclusion
Heat shrinking helps tint conform to curved glass, while defroster lines require careful protection and dot matrix edges can limit adhesion. A qualified automotive tint installer can assess the glass, choose a suitable technique, and explain the expected finish.