
Changing or Cleaning Spark Plugs on a Motorcycle
Summary
– Zoom on the choice of spark plugs and wrench
– Step 1: Install correctly
– Step 2: Dismantle the elements obstructing access
– Step 3: Disconnect the pest control device
– Step 4: Unscrew the spark plugs
– Step 5: Clean or change the spark plugs
– Step 6: Reassemble the spark plugs
– Step 7: Reassemble the elements
The spark plug delivers the spark that ignites the mixture of air and gasoline compressed by the piston in the engine’s cylinder head. Essential, the spark plug is subject to the ravages of time: it gets dirty or worn out.
It is, therefore, necessary to clean or change this spark plug regularly. Depending on the number of cylinders in your engine, you have at least as many spark plugs. Sometimes some machines have two spark plugs per cylinder.
There are two ways to find out if your spark plugs need to be replaced:
– Either you respect the manufacturer’s recommendations: every 10,000, 12,000, or 20,000 kilometers, or with a time variable such as every two years, for example.
– Or because of the non-use of your motorcycle, you carry out this replacement at a specific interval, every 2 years, every 6 months, etc…
Here is how to proceed to clean or change the spark plugs of a motorcycle engine.
Zoom on the choice of spark plugs and spark plug wrench
Several solutions are possible when changing your spark plugs:
-
- Either you chose the brand recommended by the manufacturer in its dealer network.
-
- Or you buy spark plugs from any dealer, supermarket chain, or on the Internet via websites.
It will help if you respect the thermal index, the electrode spacing, and especially the thread’s length in all cases.
Note: in most motorcycle kits, a spark plug wrench specifically designed for the motorcycle is provided. If this is not the case, you will find them in DIY stores or sometimes at garage sales. An eye-wrench can do the trick if and only if the pitch of your spark plug nut is accessible.
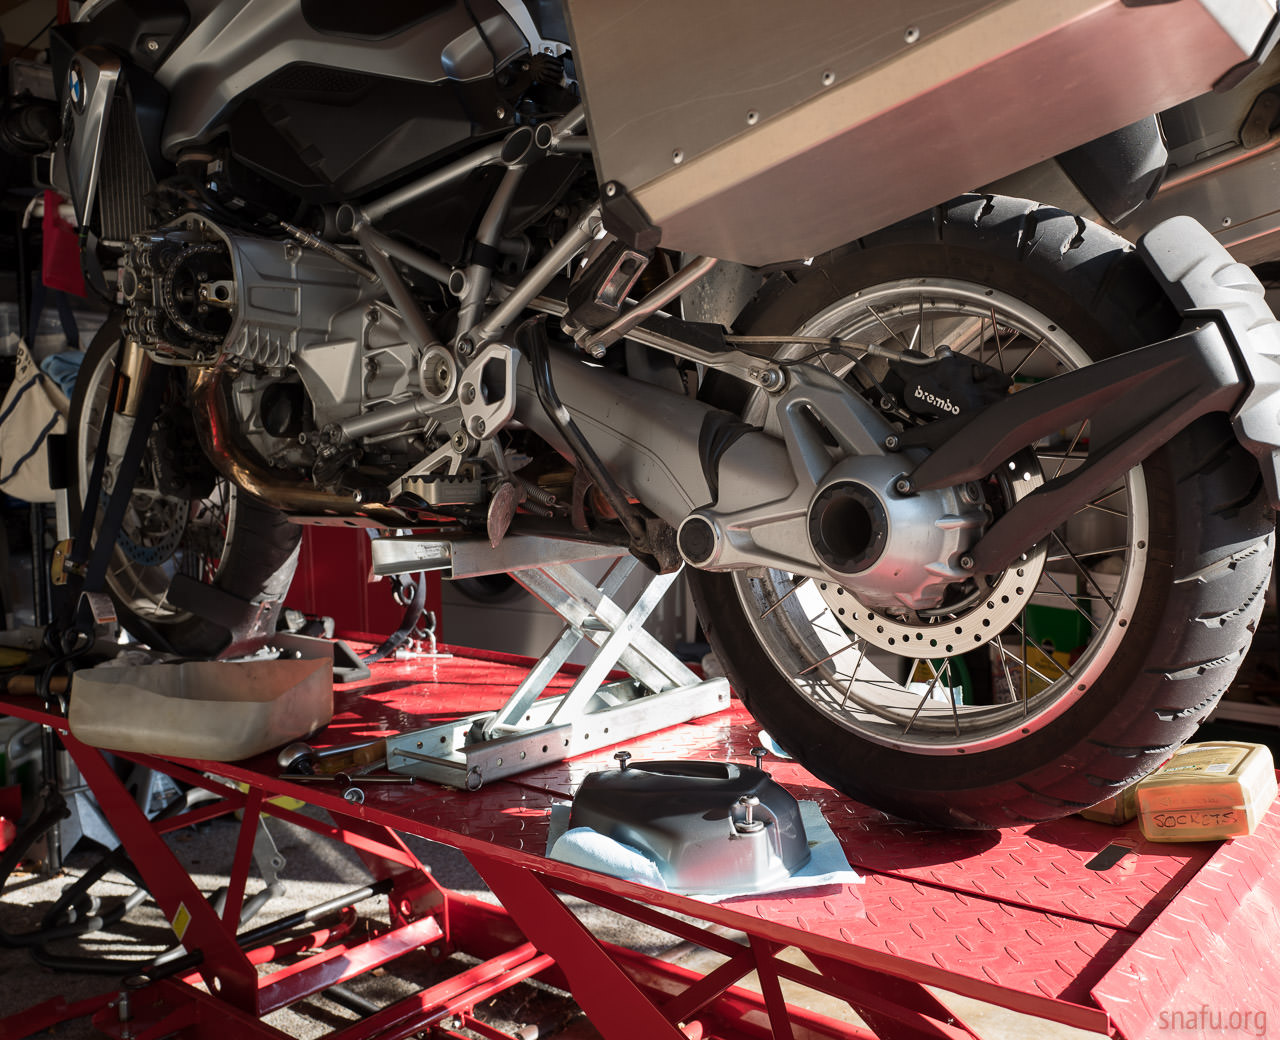
1. Install yourself properly
– Make sure you have the materials and tools. Set up in a flat, well-lit area. Ideally, it should also be covered so that it doesn’t end up in the rain.
– If you have a center stand, position your bike on it. You must do this operation with a cold engine.
– If the spark plug(s) are accessible, go directly to step 3. Otherwise, you will have to disassemble some parts.
2. Dismantle the parts that obstruct access to the spark plug(s)
– Open the saddle and put it down.
– Remove the side fairings and other covers:
◦ Start by loosening all screws and then removing them one by one, starting from the bottom to prevent the fairing from falling off and getting damaged.
◦ Place all the screws in a small separate box. Be careful in some cases; the elements are clipped together. Be sure to study the direction of the screws for reassembly.
– Sometimes, you will have to lift the tank. Some brands have rods to hold it in the open position. If this is not the case :
◦ or you can remove the fuel hoses and remove the tank entirely;
◦ or secure it with a ratchet strap, for example.
3. Disconnect the interference suppressor
– If your motorcycle has one, remove the electrical terminal located on the interference suppressor.
– Remove the interference suppressor.
– If possible, use a compressor or vacuum cleaner to blow out large impurities.
4. Unscrew the spark plug
– Using the spark plug wrench, unscrew the spark plug.
– Remove the spark plug from its housing.
– Insert the clean cloth into the spark plug well.
– Repeat the operation according to the number of spark plugs.
5. Clean or change the spark plug
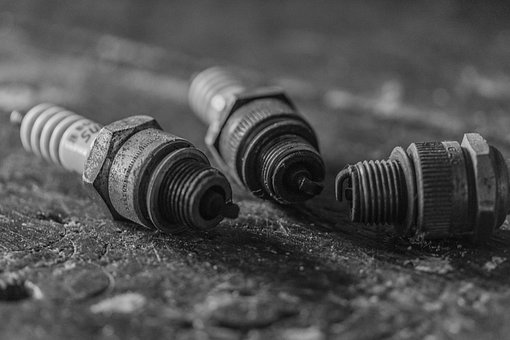
– If your spark plug is only slightly damaged or dirty, a simple cleaning is sufficient. To do this, take the wire brush and rub the thread and electrode to get a clean surface.
– If the spark plug is too dirty, replace it.
Note: If only one spark plug is dirty, there is a larger problem on one of your engine’s cylinders.
6. Reinstall the spark plug
– You may want to grease the thread to facilitate the next disassembly lightly.
– Remove the cloth.
– Insert the spark plug manually or with the wrench.
– Tighten with a torque wrench to the correct torque. If you do not have this tool, tighten it thoroughly by hand, then turn it 1/8 turn with the wrench.
Caution: Do not overtighten; otherwise, the spark plug will break and leave a part of it in the threads of the cylinder head.
7. Reassemble the elements
– Reposition the pest control by first cleaning it with the cloth.
– Press it firmly until you hear it click into place.
– Reassemble the electrical terminal if necessary.
– Reinstall the tank, being careful not to pinch a hose.
– Replace the fairing and covers.
Equipment for cleaning or changing the spark plugs of a motorcycle
|
Equipment |
Price |
|
Vacuum cleaner |
According to performance |
|
Spark plugs |
From $2 |
|
Wire brush |
Starting at $1 |
|
Recovery cloth |
Free (Rag) |
|
Spark plug wrench |
$2 |
|
Allen key |
Starting at $2 |
|
Torque wrench |
Starting at $2 |
|
Strap |
$12 |
|
Phillips screwdriver |
Starting at $3 |
1 comment
[…] Changing or Cleaning Spark Plugs on a Motorcycle […]