
Summary
– Focus on the battery charger for a motorcycle
– Step 1: Determine if your motorcycle’s battery needs to be recharged
– Step 2: Recharge your motorcycle battery
– Step 3: Maintain your motorcycle’s battery charge
Motorcycle battery chargers are equipped with LEDs indicating the charge level. When they are connected to the battery, and an orange LED lights up, the battery needs to be charged. When this charge is complete, the green LED lights up. If the red LED lights up when connected, the battery is out of order.
This handy guide explains when and how to charge a motorcycle battery.
Let’s take a look at the battery charger for a motorcycle.
It is possible to recharge a motorcycle battery with a car charger. But this one delivers a much higher charging current (about 5 Ah – ampere-hours). So be careful, or you may damage the battery. This is only a backup solution if you don’t have a motorcycle charger.
Therefore, since you cannot reduce the amperage of a car charger :
– Set the charging time to a maximum of 15 minutes so that the battery does not get hot.
– If necessary, repeat the operation, leaving the battery to rest for a good hour between two short charges.
Good to know: It is unnecessary to disconnect the battery, as the low charging current does not pose a risk to the motorcycle’s electrical components.
Step 1. Determine if your motorcycle battery needs to be recharged.
To determine if the battery needs to be recharged, turn on the ignition and try to start the motorcycle:
– If the starter drives the engine, the battery is adequately charged and in good condition.
– If the starter fails to drive the engine, the charge is insufficient.
– If the starter does not start, you should perform a few tests to determine if the problem is with the battery.
Do some simple tests.
If the problem is indeed due to the battery of your motorcycle :
– The Neutral indicator light dims until it goes out when you try to start the engine.
– Headlights (if they don’t come on automatically when you turn the ignition on) have the same effect on the neutral light intensity, and the light beam is weak.
Good to know: battery life rarely exceeds 7 years for “high-end” batteries and can be less than 2 years for a low-quality battery.
- If necessary, use a voltmeter.
You can also place a voltmeter on the battery terminals:
– Contact off; the value should be around 12.5 volts.
– When you put the contact on, the voltage drop should be less than 1 V.
Please note: a battery that has been completely discharged will never recover its original capacity, regardless of its age and quality. It will work but will discharge much faster.
Step 2. Recharge your motorcycle battery.
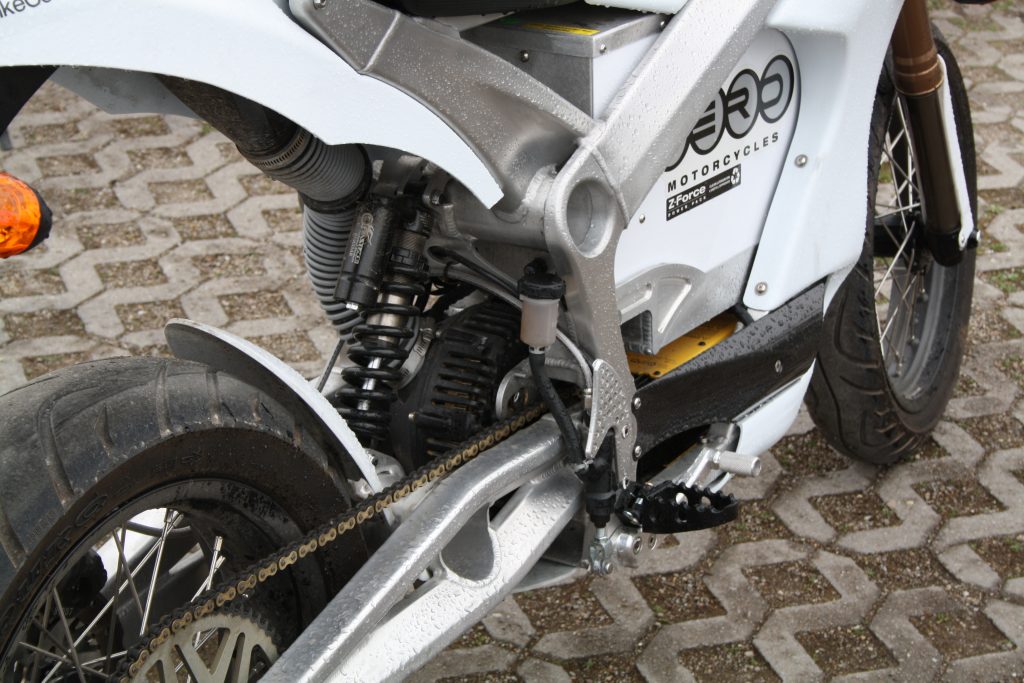
Good to know: the red (+) and black (-) color code is universal, regardless of the charger’s brand. Most motorcycle chargers are delivered with a permanent cable with eyelets to be attached to the battery terminals. The cable is equipped with a lug that connects it to the charger, allowing the plug to remain accessible without removing the saddle.
To recharge your motorcycle battery, connect the charger’s clips to the battery terminals respecting the polarities and connecting the charger to an electrical outlet.
To do this, install the permanent cable beforehand:
– Unscrew the negative (-) terminal first to avoid a short circuit with a metal part of the motorcycle and the tool when removing the positive (+) terminal.
Unscrew the positive terminal, place the corresponding eyelet (red) on the screw, and reinstall the positive terminal.
– Place the remaining eyelet (black) on the screw and reconnect the negative terminal.
Note: The sockets for connecting the permanent cable to the charger are “coded.” If the cable is correctly installed, there is no risk of reversing the polarities when connecting the cable.
Caution:
– Do not place the eyelets between the battery terminal and the motorcycle terminal but under the screw to reduce the contact surface (between the motorcycle terminals and the battery terminals).
– Remember to disconnect the charger when operating the motorcycle.
Step 3. Maintain the battery charge of your motorcycle.
If your motorcycle does not ride much, take care to maintain the battery charge:
– Install the permanent cable.
– Connect the charger to the cable and plug it into the mains.
Chargers are often intended for maintenance. They test the battery regularly and automatically switch to charging if necessary, then switch back to standby when the battery is adequately charged.
Necessary: Keeping the battery at its optimum charge level will significantly extend its life.
Equipment needed to charge a motorcycle battery.
| Motorcycle battery charger | Starting at $10. |
| Voltmeter | Starting at $10. |