
Summary
– Zoom on the choice of brake pads
– Step 1: Remove pins, screws, and axle
– Step 2: Disassemble the stirrup
– Step 3: Clean the pistons
– Step 4: Push the pistons back
– Step 5: Reassemble the stirrup
– Step 6: Return the system to pressure
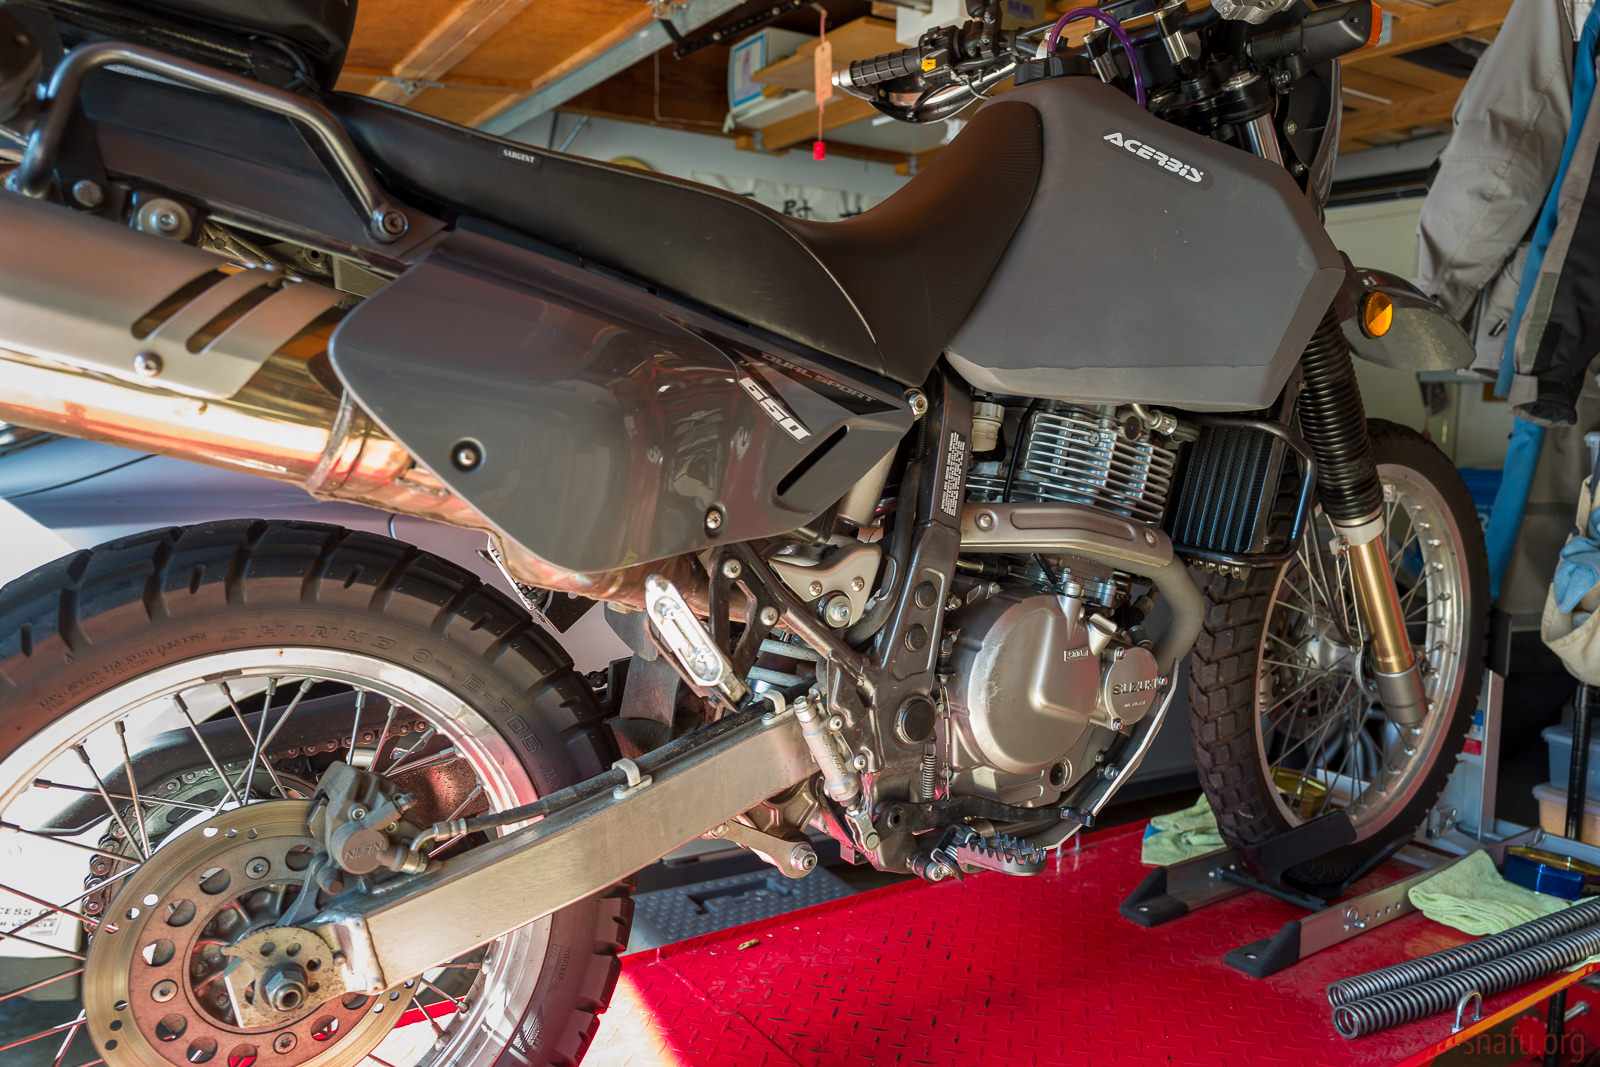
On a motorcycle, the brake pads participate in the braking action. Known as “consumables,” they are changed regularly depending on the model, riding style, and use.
There are two possibilities to find out if your brake pads need to be replaced:
– The drop in brake fluid in the master cylinder can be an indicator of brake pad wear.
– Otherwise, to check, look directly to see if your pads are visually accessible or remove them. A pad has a groove that serves as a wear indicator. If you can’t see them or hardly see them at all, your pads need to be changed.
Here’s how to change brake pads.
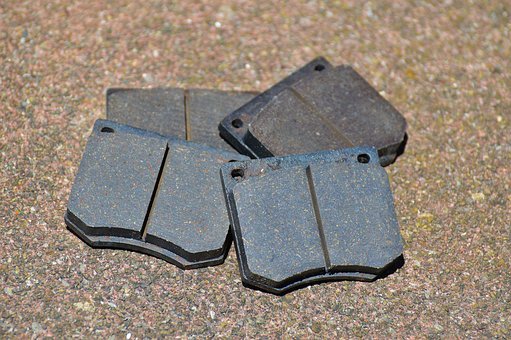
You have two choices when changing your brake pads.
1. Either you opt for so-called original parts sold by the brand in its dealer network or choose to buy a new brake pad.
2. Either you buy so-called adaptable parts made by specialized brands and also sold at dealerships on the Internet via merchant sites.
In any case, always buy your plates by referring to your vehicle’s serial number and its year of production. Sometimes from one year to the next, manufacturers make modifications, and the systems may differ.
1. Remove pins, screws, and axles.
Make sure you have the right plate model, the right equipment, and set up in a flat, well-lit, and covered area.
Usually, inserts are protected by a plate held in place by one or two screws.
– First, remove the plate.
– Then, unscrew the screw that holds the pads in place. Sometimes this pin is not accessible; it is located in the inner part of the wheel. In this case, go directly to step 2.
2. Disassemble the caliper
– Remove the brake caliper by unscrewing either the two bolts or the two BTR screws that hold it to the fork.
– You can first put a little bit of anti-seize on it beforehand.
– Then, remove the brake pads.
3. Clean the pistons
– Using a soft cloth, clean the brake caliper pistons.
– If they are too dirty, apply a specific non-corrosive cleaning product for the seals.
– Push the pistons back
– Remove the master cylinder cover, protecting the lathe with a cloth.
– If the screws are too tight, point them with a hammer and screwdriver.
– Push back the pistons with a clamp or by taking the old inserts and using pliers. Place a wooden wedge between the clamp and the pliers to protect it.
5. Reassemble the caliper
– Lightly rub the plates with fine sandpaper.
– Place the new pads in their housing.
– Tighten the retaining pin and the pins.
– Slide the bracket onto the disc.
– Tighten the bolts or BTR screws with the wrench and apply a little thread lock. Do not overtighten.
Note: The use of a torque wrench is a plus, but this tool’s price is very high.
– Screw the master cylinder cover back on.
6. Pressurize the system again
– Operate the brake lever several times so that the fluid exerts pressure on the pistons, causing the pads to be repositioned as close to the disc as possible.
– For the first few miles, do not brake hard to avoid “freezing” the pads and give them time to break in.
Brake pad changing equipment
| Cloth | Rag |
| Pipe wrench | $3 |
| Allen key | Starting at $2 |
| Climber | Starting at $4 |
| Threaded brake | Approx. $10 |
| Sandpaper | Approximately $5 per 3 sheets |
| Power Pliers | Starting at $2 |
| Flat screwdriver | From $1 |