
Contents
– Focus on the water pump
– Step 1: Drain the cooling system
– Step 2: Prepare to remove the belt
– Step 3: Remove the accessory belt
– Step 4: Remove the water pump
– Step 5: Prepare to install the water pump
– Step 6: Install the new water pump
– Step 7: Install the accessory belt
– Step 8: Bleed the cooling system
– Step9: Perform the necessary checks
Replacing a water pump sometimes becomes necessary. An accessory belt drives it, and this is an operation that most people can do.
When the timing belt drives the water pump, only experienced amateurs or professionals are recommended to do it. The removal and installation of the timing belt, if not done correctly, can cause irreparable damage to the engine.
Here is a step-by-step guide to changing a water pump driven by an accessory belt.
Focus on the water pump
Role of the water pump
A car’s cooling system is comparable to the central heating in a house, although the effect is the opposite.
– A heat transfer fluid heated by a heat source (boiler and engine) circulates through the pipes to the radiator(s).
– The circulation is induced by a physical phenomenon called “thermosiphon”: the hot liquid, whose density is lower (state tending towards evaporation), accumulates in the upper parts of the circuit.
– Once it reaches the upper part of the radiator, a heat exchange occurs between the liquid and the ambient air; the liquid cools down and goes back down into the radiator, establishing a circulation of the liquid in the circuit.
– In central heating, the purpose is to heat the air in the room, and in the engine, it is to cool the coolant.
In both systems, thermosiphon is not sufficient to be effective. That is why a water pump is inserted in the circuit, accelerating the circulation speed and, therefore, efficiency.
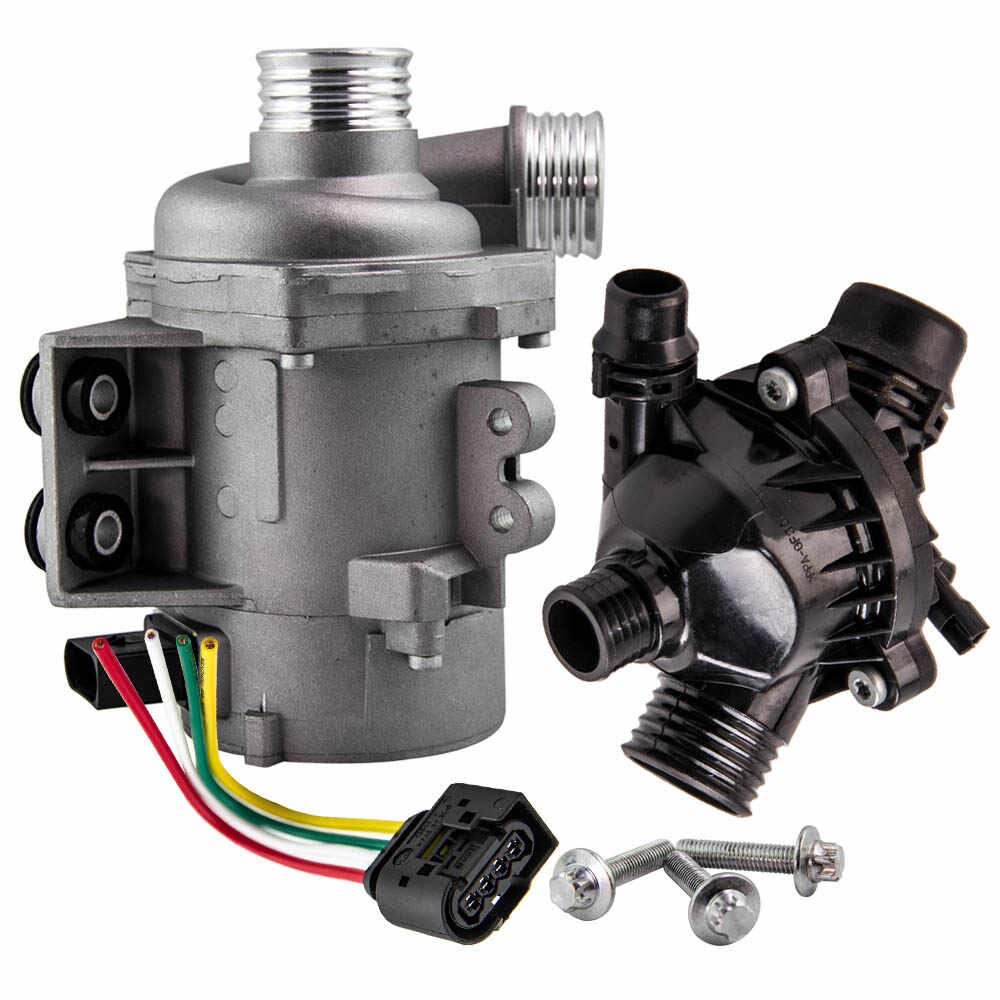
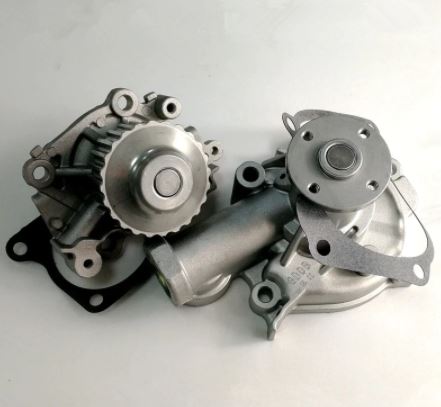
The elements of the water pump
– The pump consists of a turbine in contact with the liquid.
– This turbine is driven by a shaft and a pulley connected to the engine rotation (accessory or distribution belt).
Symptoms of a defective pump
You can identify various symptoms:
– There is a leak or an external oozing of liquid. A hole is made in the pump casing between the seal on the liquid side and the bearing. This is how an internal leak can be detected.
Good to know: when the liquid flows or oozes through the hole, it also prevents the bearing from being in contact with the liquid for too long and from being destroyed.
– A rolling sound (whirring) or a metallic noise is heard. The bearing is often damaged because the belt is too tight.
Breakdowns caused by the pump
Wear and tear on the water pump can lead to varying degrees of damage.
– The engine heats up. Air enters the circuit and causes gas plugs that prevent the liquid from circulating. The temperature then rises rapidly, causing damage to the engine (cylinder head gasket, clamps, thermal stress on the cylinder head, etc.).
– The engine breaks down. A loose water pump bearing can lead to timing belt failure and engine destruction (valves, camshaft, pistons, connecting rods, etc.).
The only solution is to replace the water pump before it is too late!
Necessary: please take the technical journal with you, which will explain the replacement details in detail according to your car’s model.
1. Drain the cooling system
– Place a large drain pan under the vehicle to collect the coolant.
– Disconnect the battery.
– Remove the drain plugs under the radiator and on the engine block if they exist. Otherwise, disconnect the lower radiator hose, as any remaining fluid will drain when the water pump is removed.
Necessary: Do not drain a hot engine, as this can cause severe burns.
2. Prepare for belt removal
Depending on the configuration, it may be necessary to remove different elements beforehand.
Case 1: carry out the removals with a transversally arranged motor
– Remove the right wheel :
◦ lift the motor with a jack ;
◦ then rest it on a jack.
– Remove the sheet metal and plastic guards from the wheel well.
– Remove the upper right engine mount:
◦ place the jack under the motor;
◦ unscrew the bolts;
◦ raise the jack until you can remove the bracket.
Good to know: removing other components such as the alternator, air conditioning compressor, or steering pump is sometimes necessary.
Case 2: Remove the necessary components with a longitudinal engine
– Remove the cooling fan.
– Remove the cooling radiator.
3. Remove the accessory belt
The belt is now accessible so that you can remove it.
– Start by noting on a sheet of paper the belt’s path on the various pulleys or take a picture of it.
Good to know: this will be useful for the reassembly!
– With the belt still in place, unlock the water pump pulley fixing screws without removing them.
– Disable the tensioning system:
◦ with manual tensioning: loosen the tensioning roller, loosen and retighten it slightly in this position;
◦ with automatic tensioning: counteract the force of the tensioning spring with a flat wrench on the tensioning roller, and remove the belt simultaneously.
Important: for this action, have someone help you.
4. Remove the water pump
– Loosen the screws holding the water pump pulley.
– Remove the pulley.
– Loosen any screws or nuts securing the water pump body.
– Pull the water pump out. If necessary, pry with a screwdriver or tap on the pump to loosen it.
Good to know: Provide a container for the coolant that is left in the pump to drain.
5. Prepare to reinstall the water pump
– Make sure to remove all traces of the old gasket.
– Clean the sealing surface on the engine block with abrasive paper. – Using a sponge, remove excess fluid from the pump housing on the motor block.
– Remove any dirt from the gasket area and degrease.
Good to know: use a brake cleaner spray for degreasing.
– Take the opportunity to check that the pulleys of the other components (alternator, compressor, steering pump, tensioning and winding rollers, damper pulley, etc.) rotate freely, without play or humming.
6. Install the new water pump
– Start by checking the conformity of your new pump.
– Prepare the gasket and the new gasket supplied with the pump. Perform a different treatment depending on the type of seal.
◦ With an O-ring, coat it lightly with grease (Belleville grease is ideal). Exclude any gasket paste.
◦ With a metal gasket, no gasket paste or grease is needed.
◦ A paper flat gasket can be dry fitted or lightly coated with grease or engine-specific gasket paste. Apply only a thin film, do not “spread” paste,
Important: do not use silicone-based paste. Too thick, with unsightly spillage, it is likely to produce fragments that can block or interfere with the operation of the cooling system (radiator, thermostat …). And above all, it is unsuited to the engine environment, hydrocarbons, and coolant.
– If they exist, check the presence of the centering studs before installing the pump.
– Install the new water pump.
– Tighten the screws and nuts to the prescribed torque.
– Replace the water pump pulley (if it is not crimped onto the pump).
7. Install the accessory belt
– Reinstall the belt according to the markings found during disassembly, using the drawing or photos.
Necessary: It is recommended to install a new belt.
Case 1: Tension the belt with automatic tensioning
– Release the tensioning roller.
– Check that the belt is correctly positioned in the grooves of each pulley.
– If necessary, correct the belt tension.
Case 2: Tension the belt with manual tensioning
– Tension the belt according to the manufacturer’s instructions.
– In most cases, the manufacturer recommends the use of an expensive and unique tension gauge. An acceptable economic solution is to use a mechanical tension meter, which is less expensive, provided that the following prescriptions are followed:
◦ when starting the engine, no abnormal belt squealing or flapping should occur (a symptom of an insufficiently tensioned belt) ;
◦ hot engine, at idle or under acceleration, no hissing is acceptable (a sign of an over-tensioned belt).
– Correct the belt tension if necessary.
8. Drain the cooling system.
Reassemble all components
– Reassemble all parts: radiator, fan, engine mount…
– Replace the drain plugs.
Good to know: check all the tightening, especially the wheel tightening.
Fill and bleed the cooling system this way:
– Open the bleed screws if they exist.
– Carefully follow the instructions in the technical journal, which informs you of the exact location and number of existing bleed screws (with illustrations and photos).
Good to know: some cars have bleed screws, while for others, the bleeding of the circuit is ensured by small diameter hoses placed on the high points of the circuit and the radiator in connection with the expansion tank.
– If there is no specific filling tool, place a funnel extended by a hose on the coolant expansion tank (filler neck) so that it is high enough above the engine to prevent air from accumulating in the high points of the system.
Good to know: if the expansion tank is removable, raise it using a cable or a turnbuckle attached to the engine hood.
Ensure that the junction between the hose and the filling tank is airtight (with a rag, a rubber seal, etc.).
– Fill the fluid, making sure that the level is above the highest point of the engine.
– At the bleed screws, wait for the new fluid to flow; you can recognize the fresh fluid by its color.
Good to know: the new fluid expels the remaining old fluid due to its higher density.
– Close the bleed screws.
Important: Always check that the amount of new fluid used is equal to or greater than the volume drained.
– Remove the funnel and replace the expansion tank cap.
9. Perform the necessary checks
– Check for leaks under the car.
– Start the vehicle and warm it up at idle.
– Check the level regularly and top up if necessary.
– Before the engine reaches normal operating temperature (when the temperature needle approaches 1/3 of the gauge), close the expansion tank cap completely.
– When the cooling fan starts, stop the engine, wait for it to cool, and check the level.
Good to know: it may be necessary to accelerate the engine to start the cooling fan.
– If necessary, top up or remove excess fluid with a syringe.
– Then, take the engine for a test drive.
– If the temperature needle is at a normal position, your work is done.
Caution: The coolant must not be released into the environment!
Equipment needed to change a water pump.
| Torque wrench | Starting at $2 |
| Flat wrench | $2 approx. |
| Jack | Starting at $10 |
| Funnel | Starting at $1 |
| Sponge + Cloth | $2 |
| Grease | Starting at $4 per 400 g |
| Coolant | Starting at $5 |
| Rubber mallet | $4 approx. |
| Paper + pencil | Already owned |
| Joint compound | Starting at $6 |
| Syringe | About $2 |
| Emery cloth | Starting at $4 |
| Flat screwdriver | Starting at $1 |